Linux Mint 21, codenamed “Vanessa”, was officially released on July 31, 2022. Linux Mint 21 is based on Ubuntu 22.04 and will be supported until April 2027. Linux Mint 21 comes in three editions: Cinnamon, MATE, and XFCE.
In this guide, we will walk you through the installation of the Linux Mint 21 XFCE Edition.
What’s New in Linux Mint 21?
Linux Mint 21 comes with the following improvements.
- Enhanced support for sticky notes.
- Blueman Bluetooth Manager replaces Blueberry.
- Improved support for thumbnails. Through Xapp-thumbnailers projects, additional file formats are supported including AppImage, Webp, .ePub, and RAW image formats.
- Driverless scanning and printing.
- Xapp improvements.
Prerequisites
Before you get started with installing Linux Mint 21 XFCE edition, ensure that you have the following requirements:
- A 16 GB USB drive for the installation medium.
- Broadband internet connection for downloading the ISO image.
In addition, ensure that your system meets the following minimum recommended requirements.
- Minimum of 2GB of RAM.
- Minimum of 1 GHz Dual core processor.
- 30 GB of free hard disk space.
- HD graphics card and monitor.
Step 1: Download Linux Mint 21 XFCE ISO Image
To get started with the installation, head over to the Official Linux Mint download page and download the XFCE ISO image file on your PC. Next, use any of these tools for creating a bootable USB drive to create a bootable USB drive using the ISO image.
With the USB bootable medium at hand, plug it into your PC and reboot. Be sure to set the bootable USB medium as the first boot priority in the BIOS settings. Save the changes and continue to boot.
Step 2: Installing Linux Mint 21 XFCE Desktop
On the GRUB menu, select the first entry as shown.
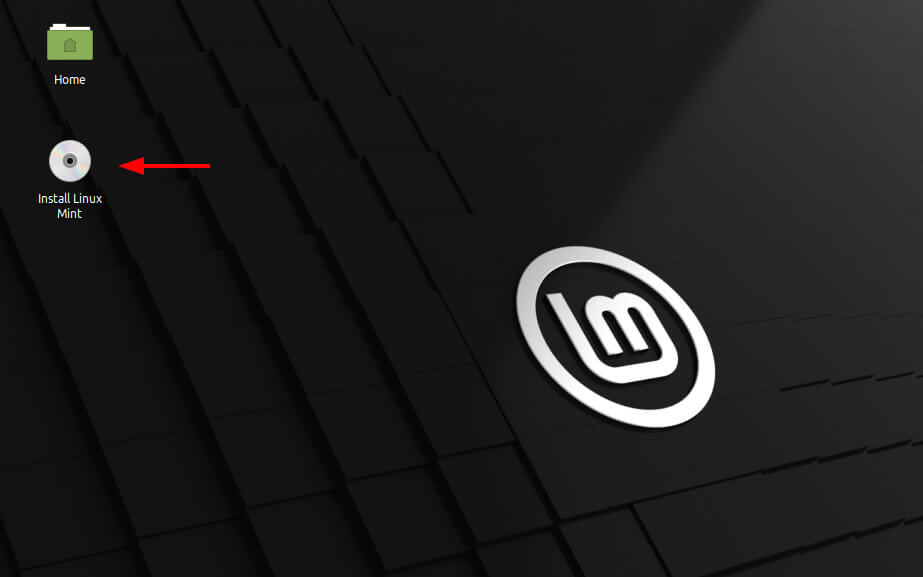
This takes you straight to the Linux Mint 21 Live desktop environment. You can choose to try out Linux Mint and discover the new features. Since our goal is to install Linux Mint, click on the ‘Install Linux Mint’ desktop icon.
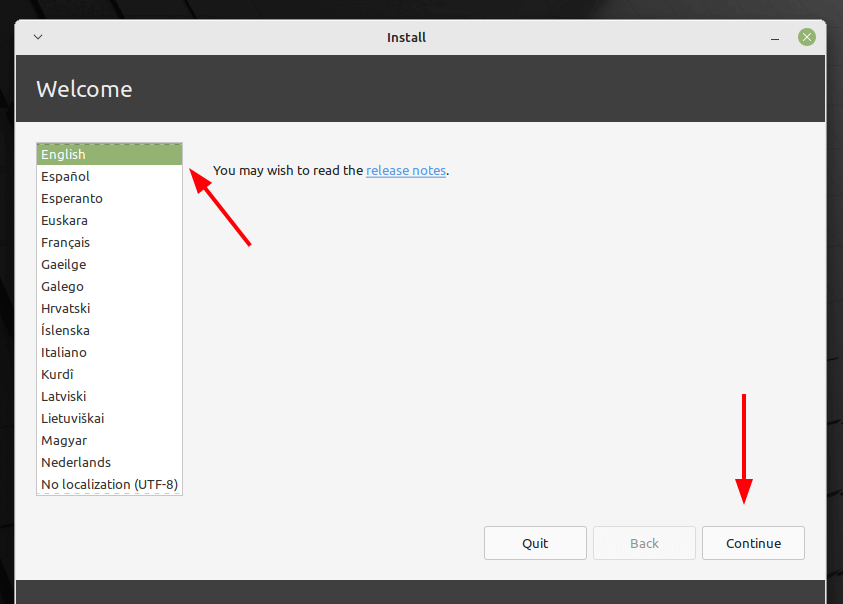
The installer will be launched and will walk you through a series of steps to install Linux Mint. First up, select your preferred installation language and click ‘Continue’.
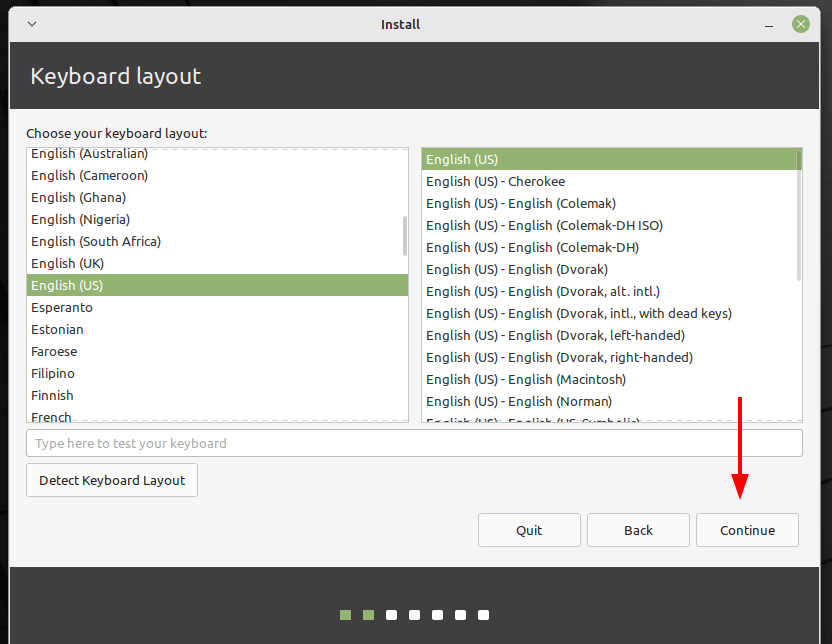
Next, choose your preferred keyboard layout, and click ‘Continue’.
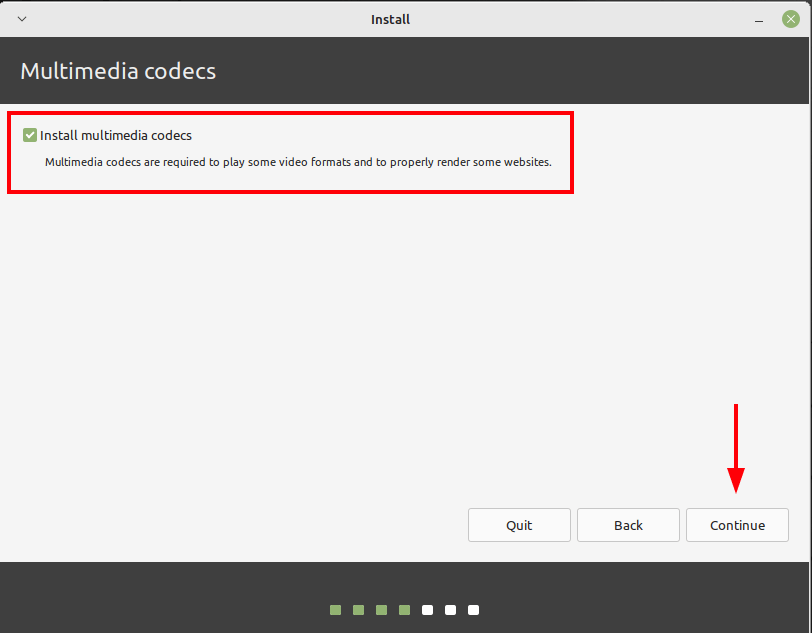
Next, you will be presented with an option to install multimedia codecs. This comes highly recommended as the codecs provide support for a variety of video formats and improved user experience.
In this step, you will be required to configure partitioning for your hard disk. You will be presented with the following options – ‘Erase disk and install Linux Mint‘ and ‘Something Else‘. Let us see what each of these does.
- Erase disk and install Linux Mint – This option completely deletes everything on your hard drive including any existing OS. Further, it automatically partitions your hard disk, and for this reason, it is the more preferred option for novices or those who cannot manually partition the hard drive.
- Something else – This option gives you the flexibility to manually partition and resize your hard drive. It’s particularly useful when you want to configure a dual-boot setup.
For this guide, we will go with the first option: ‘Erase disk and install Linux Mint‘. Next, click ‘Install Now‘.

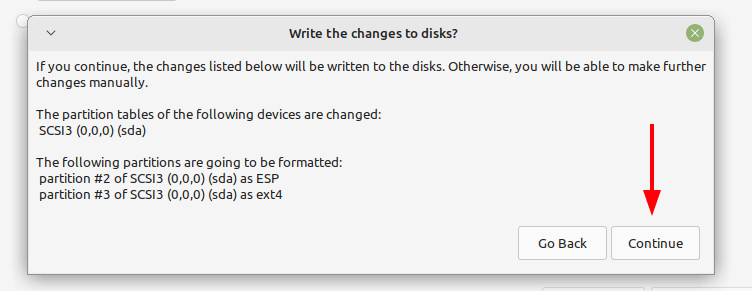
On the pop-up that appears, click ‘Continue’ so that the changes will be written to your hard drive.
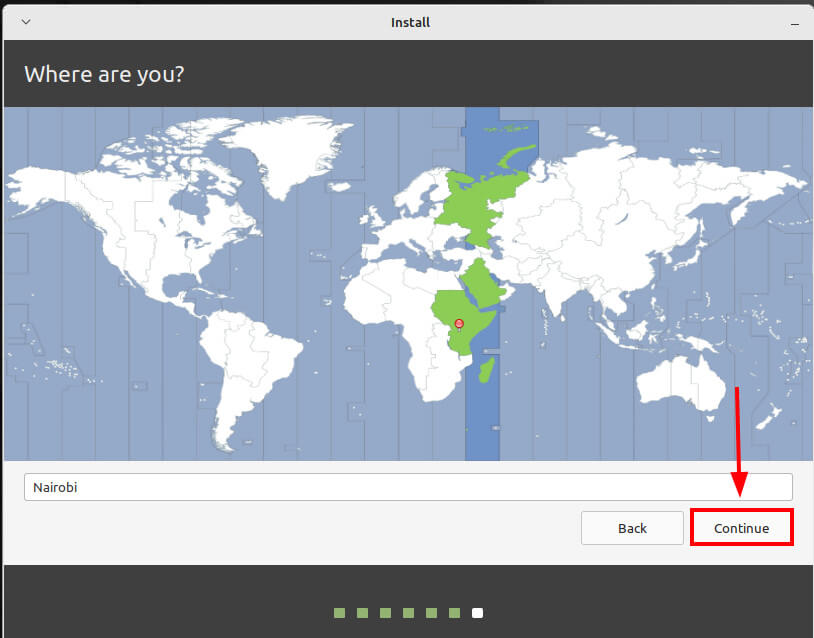
In the next step, select your geographical position from the world map provided and click ‘Continue’.
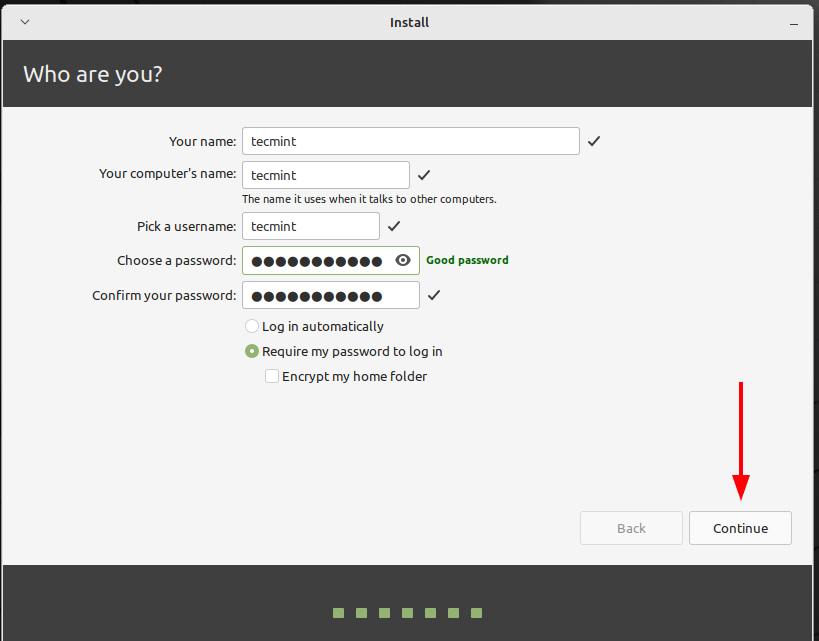
Next, create a login user and click ‘Continue’.
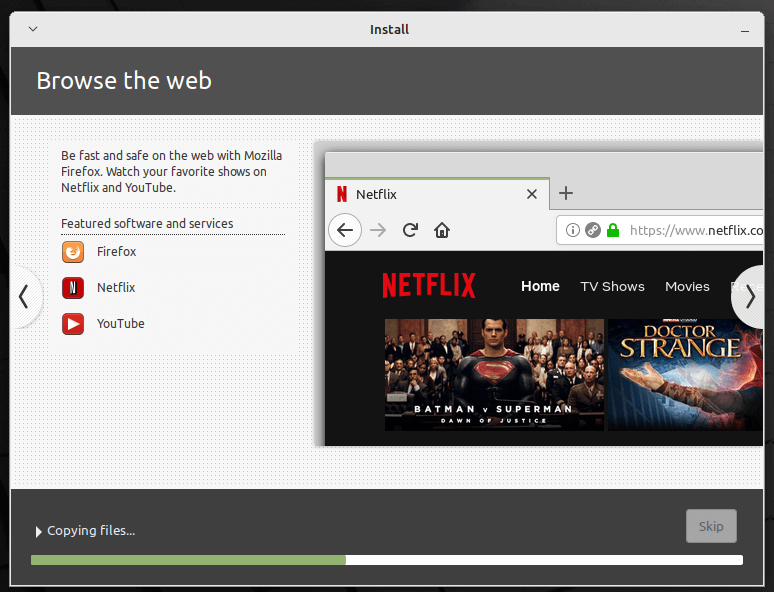
From here, the installer will copy all the files from the ISO image to the hard disk and make all the necessary configurations required. This process takes about 20 minutes and this is a great point to take short.
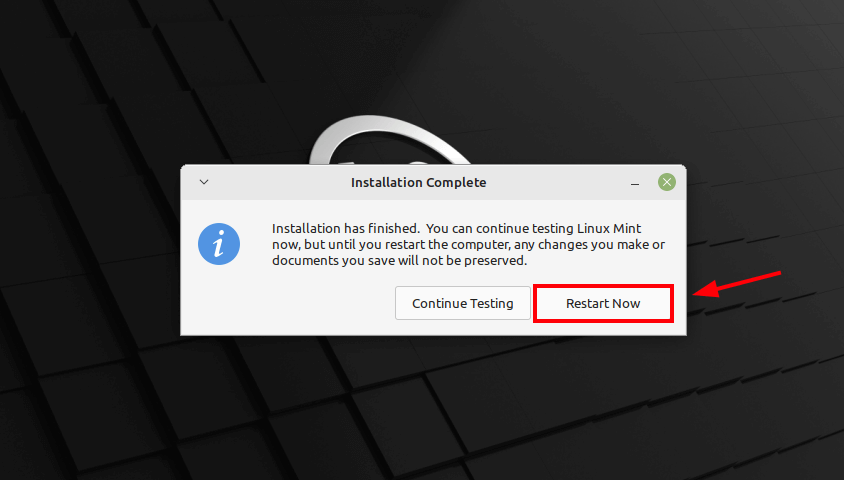
Once the installation is complete, you will get a pop-up prompting you to restart. Therefore, click on ‘Restart Now’ to reboot the system.
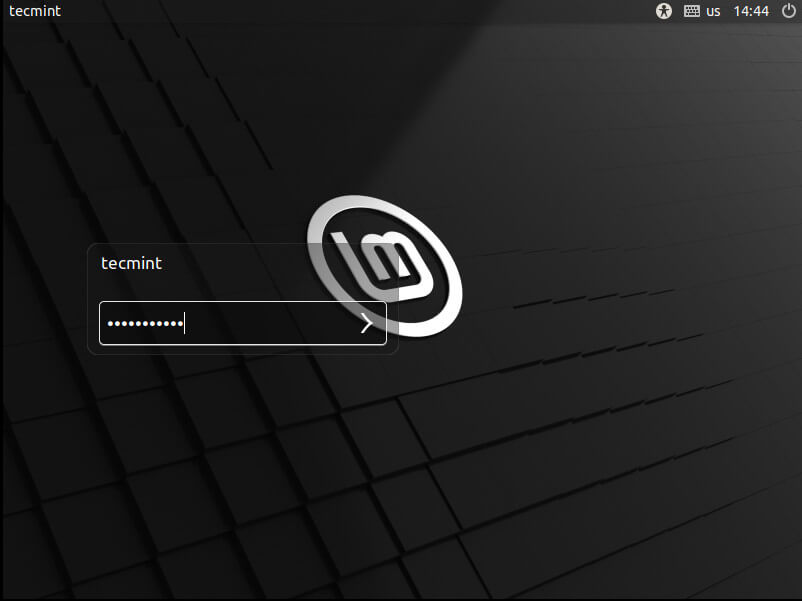
On the login screen, provide your login password and press ENTER.
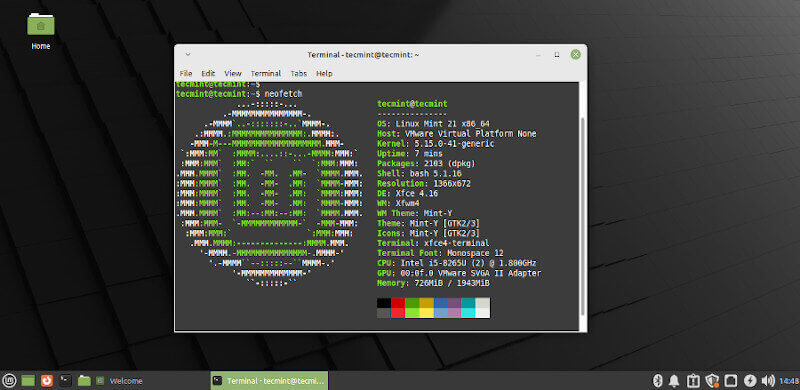
This ushers you into the Linux Mint desktop environment as shown. You can launch the terminal and run the neofetch utility to extract more information about the OS.
$ neofetch
And that’s it. We have walked you through the installation of the Linux Mint 21 XFCE Edition. Have fun!