File sharing is the action of sending a file or more from one computer to another. In theory, it’s a simple thing. The process is quite simple and straightforward if both of the computers are running the same operating system. When it’s different, things get a bit complicated.
In this guide, check out how to share files between Windows and Linux.
Sharing files between Windows and Linux
There are multiple ways to configure both Windows and Linux to share files. However, in the case of this guide, I’ll be mostly showcasing how to configure Linux for file sharing. For Windows-specific configuration, I’ll be showcasing only the necessary ones.
Let’s get started!
Share files using portable storage devices
This is one of the most common and traditional ways of sharing files between two computers. Generally, it involves portable storage media. Got a USB flash drive? A portable HDD/SSD? Just plug it into the source computer, copy the data to the portable storage, and share it with your target computer.
In certain scenarios where the data is too big to be shared over the network/internet, this is the best solution. In a professional workspace where terabytes of data need to be shared and stored, there are portable RAID arrays to do the job.
While it’s simple and effective, there are a couple of things to keep in mind.
- Storage capacity: Data bigger than the capacity can’t be stored on portable storage. If that’s the case, then you may split the file into smaller pieces using file splitting software. You may have to move the data through the portable storage several times.
- File size: If the file size is quite small, and there’s lots of them, the transfer rate is going to be slow. On the other hand, if the file size is ridiculously large, then it’s also going to be slow.
- Filesystem: Linux and Windows come with their own filesystem. While filesystems like FAT (fat16, fat32, etc.) or NTFS are accessible from both Windows and Linux, the Linux-specific filesystems (ext3, ext4, xfs, btrfs, etc.) aren’t.
Share files over cloud storage
Cloud storage is the standard way of file sharing in this internet era. Files can be uploaded and downloaded on any device with a modern web browser. However, there are a couple of different points to remember if you wish to choose this path.
- Storage capacity: In the case of online cloud storage, storage capacity is a big concern. Popular cloud storages offer a limited amount of cloud storage for free. If your file is larger than that, you may have to buy additional cloud storage space. You can also split the big file into multiple small ones.
- Bandwidth: This is the second biggest concern when it comes to cloud storage. If the internet connection you’re using is slow, then the file upload/download time will take quite a while. If you’re using a metered connection, it can cost you a lot.
Some of the popular online cloud storage include Google Drive, Dropbox, OneDrive, pCloud, Box, etc. Almost all of them offer a reasonable amount of cloud storage for free.
Share files using network folders
If both computers are on the same network, it’s possible to take advantage of it. In this method, certain folders of the source machine will be available to other machines.
Configure Linux
To enjoy this feature, you have to configure the systems first. In the case of Linux, Samba is the perfect solution. Samba is the standard suite of programs for UNIX/Linux operating systems for standard Windows interoperability. Check out Samba.
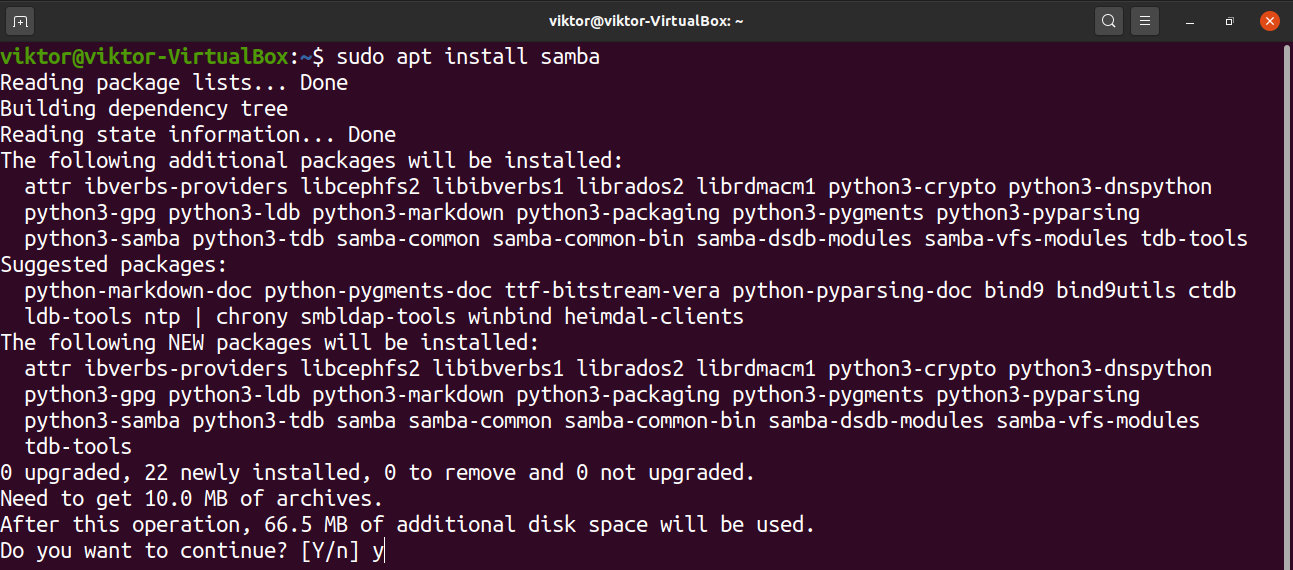
Samba is popular software that you can grab from the official package repos of your distro. To install Samba, run the command according to your distro.
For Debian/Ubuntu and derivatives.
For Fedora and derivatives.
For Arch Linux and derivatives.
For openSUSE and derivatives.
$ sudo zypper install samba
Now, set a username and password for the Samba share. This command has to be run with root privilege.
$ sudo smbpasswd -a <username>

For better management, it’s better to have a dedicated directory to share data from. Create a dedicated directory.
$ mkdir -v /home/<username>/share

The new directory has to be declared in the Samba configuration file for it to recognize and use. There are also a handful of additional tweaks needed to be made. Open the configuration file in your text editor of choice.
$ sudo vim /etc/samba/smb.conf
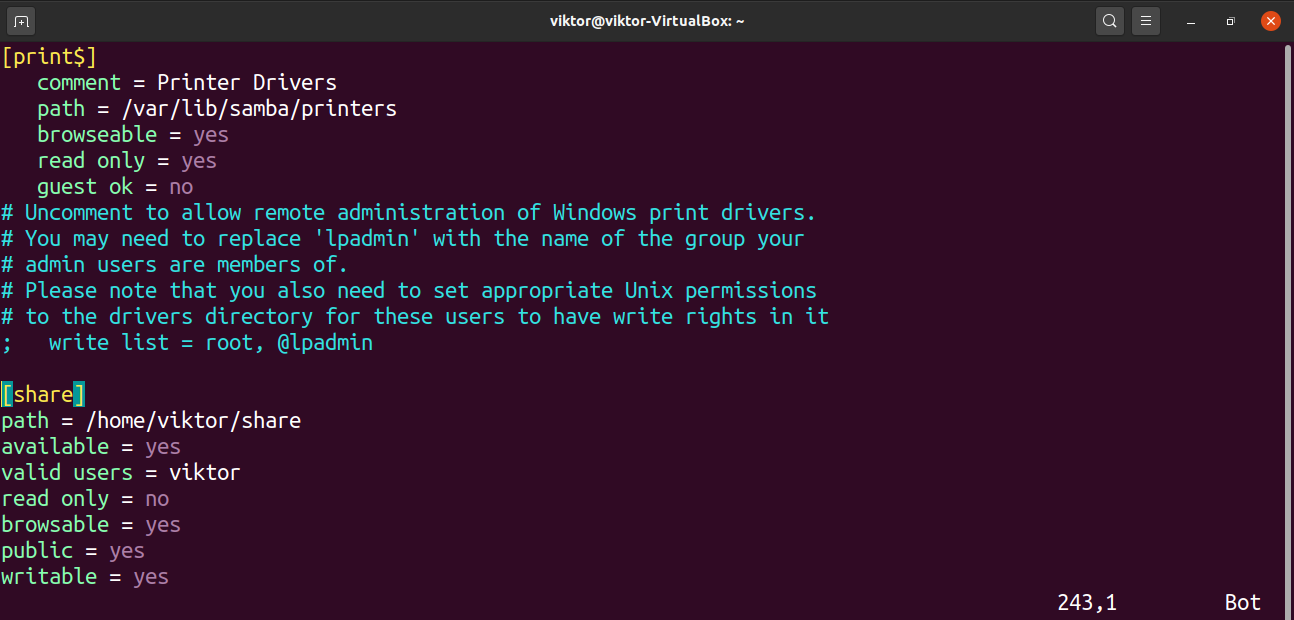
Add the following lines at the end of the file.
$ [share]
$ path = /home/<username>/share
$ available = yes
$ valid users = <username>
$ read only = no
$ browsable = yes
$ public = yes
$ writable = yes
Save the file and exit the editor. Reload the Samba service to take the changes into effect.
$ sudo systemctl restart smbd

Voila! Samba should be up and running. From Windows, use the file explorer or the browser and go to the hostname or IP address of the Linux system, followed by the folder name.
$ <linux_machine_ip>share
Configure Windows
In the case of Windows, there are two steps in the configuration process.
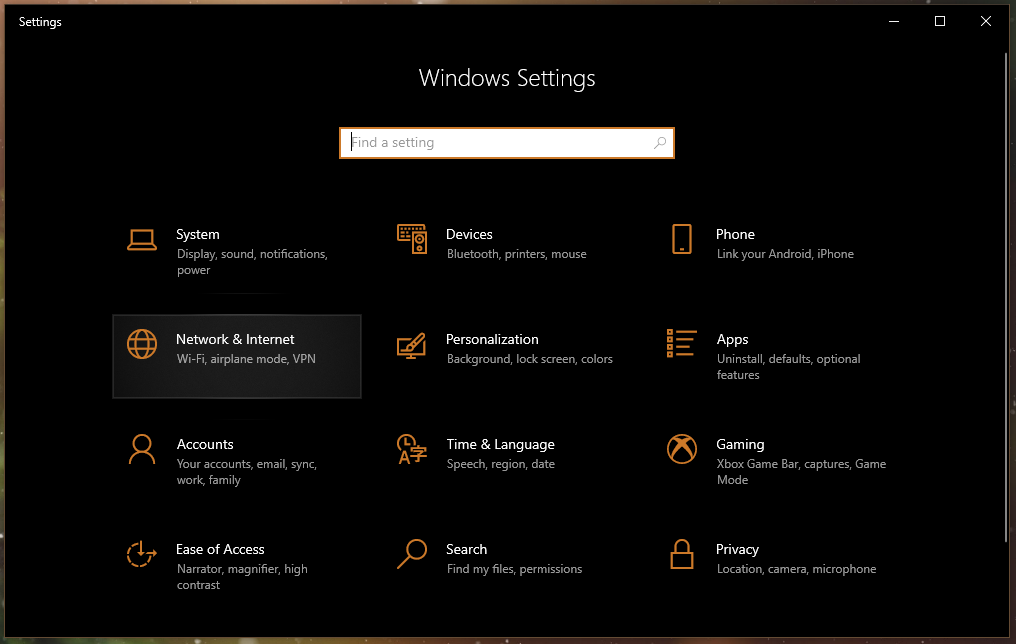
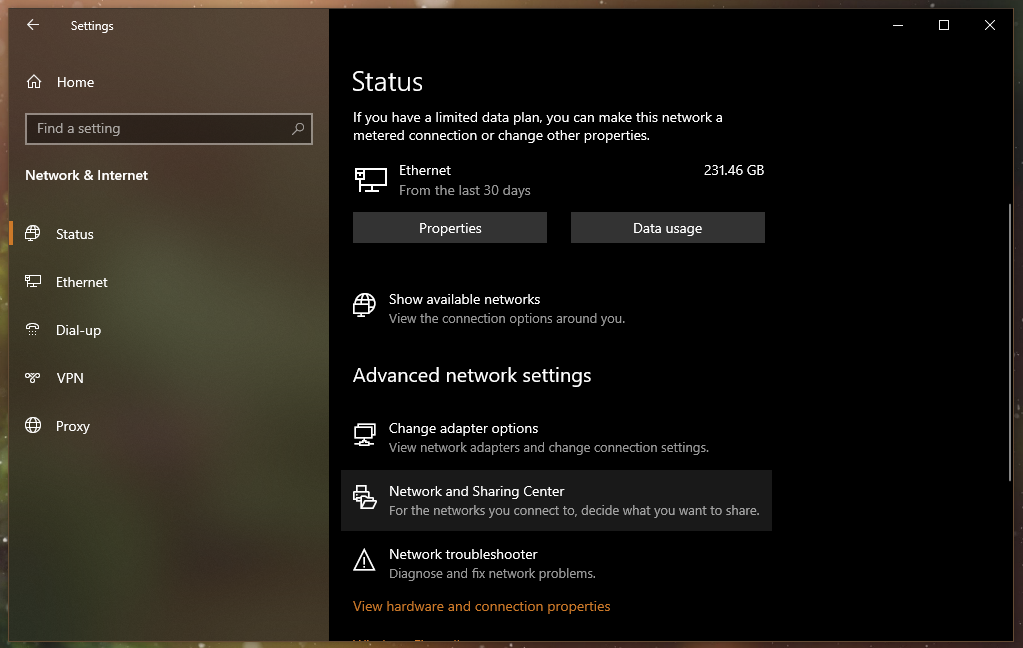
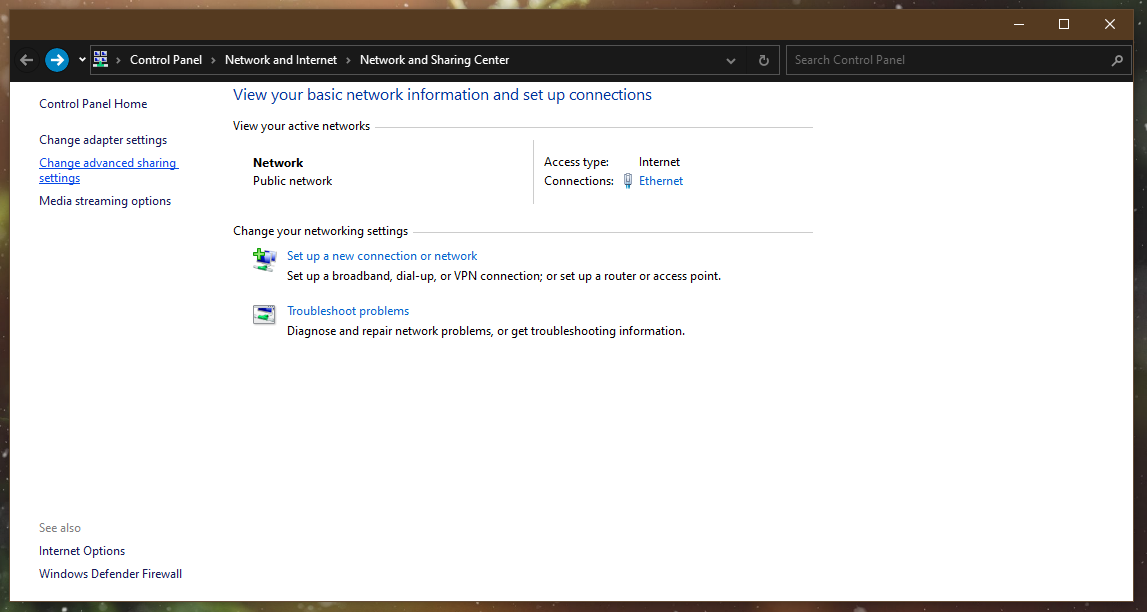
First, make sure that “Network Discovery” and “File and printer sharing” options are enabled. Go to Settings >> Network & Internet >> Network and Sharing Center.
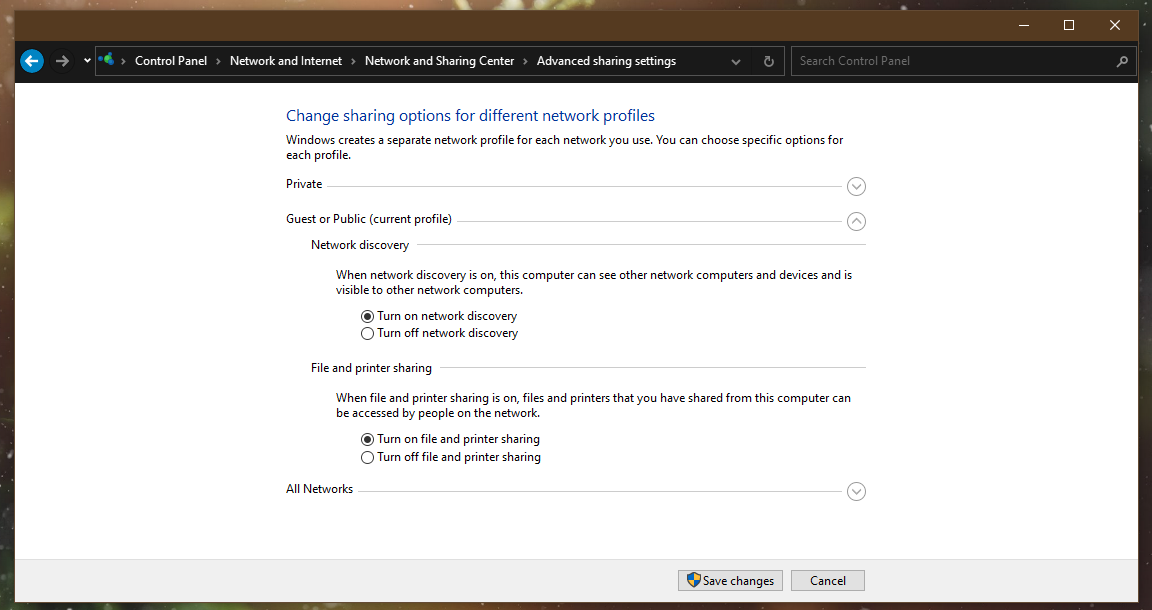
From the left side, click “Change advanced sharing settings.”
From the new window, turn on network discovery and file and printer sharing. Click “Save changes.”
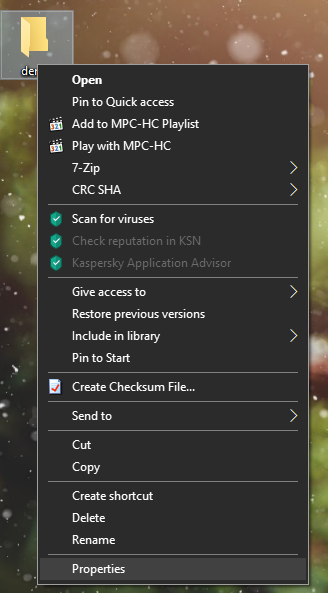
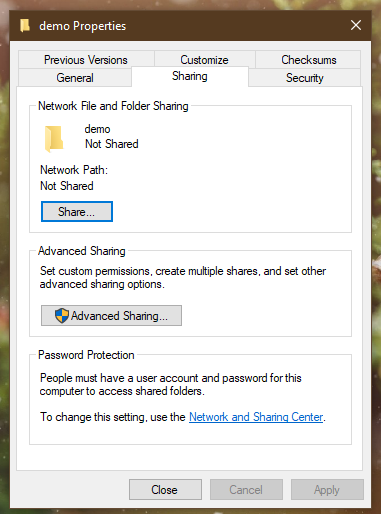
Now, select the folder to share. Right-click and select “Properties.”
From the new window, go to the “Sharing” tab. Click the “Share” button.
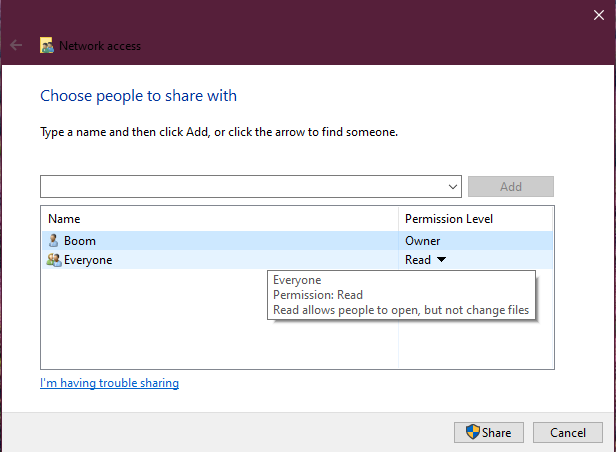
Now, you have to choose who can access the folder. If you want it to be accessible by anyone, select “Everyone” and click “Add”. Once complete, click “Share” to confirm the action.
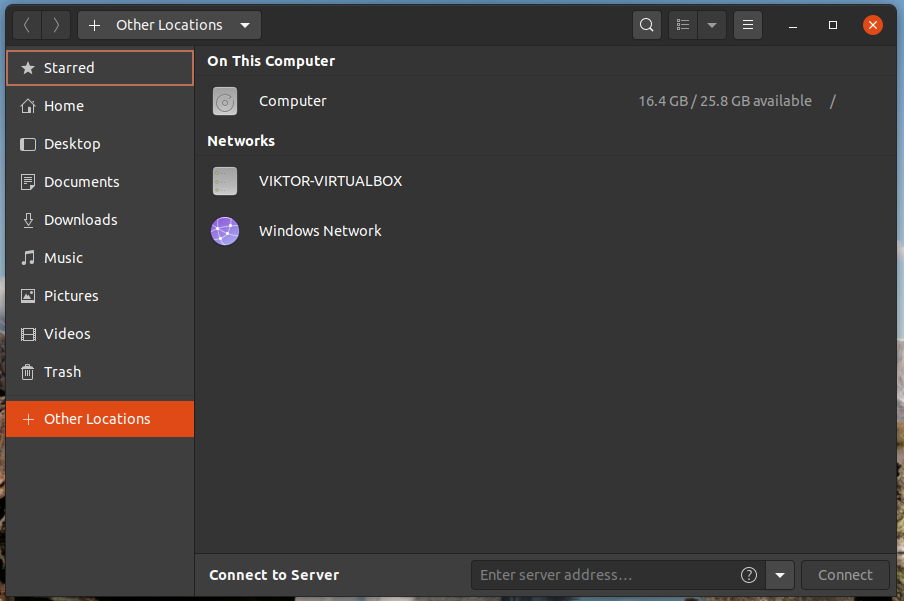
Voila! The folder should be available from the Linux machine on the network. To access the directory, open up your file browser and browse the “Network” from “Other Locations”. This is how it appears on the Nautilus file browser on Ubuntu.
Share files using SyncThing
There are 3rd-party tools that allow sharing files between devices. These type of tools are generally cross-platform and offers solid security with an encrypted connection.
In this section, I’ll be showcasing SyncThing. SyncThing syncs files between computers in real-time securely. It’s free and open-source software that’s available for Windows, Linux, macOS, BSD, and others. Check out SyncThing.
Let’s get started by installing SyncThing. SyncThing is also available at the default package repos of various distros. Run the appropriate command according to your distro.
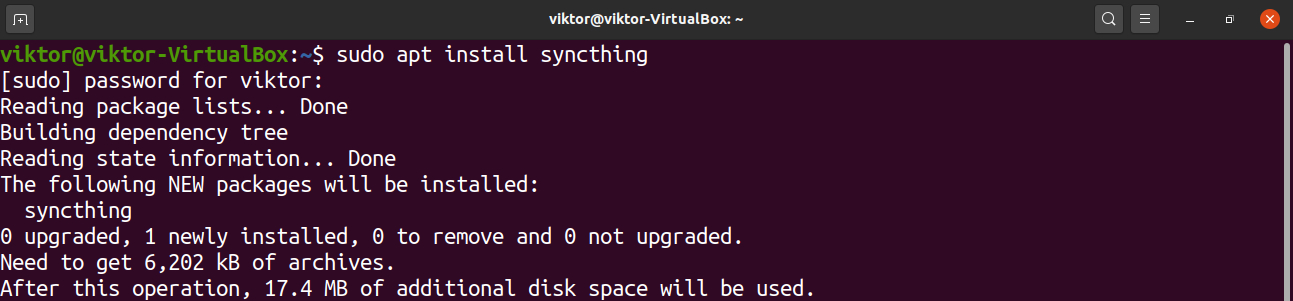
For Debian/Ubuntu and derivatives.
$ sudo apt install syncthing
For Fedora and derivatives.
$ sudo dnf install syncthing
For openSUSE and derivatives.
$ sudo zypper install syncthing
For CentOS/RHEL and derivatives.
For other platforms, check out the SyncThing download page. The default Linux TAR.GZ archive contains a portable version of SyncThing.
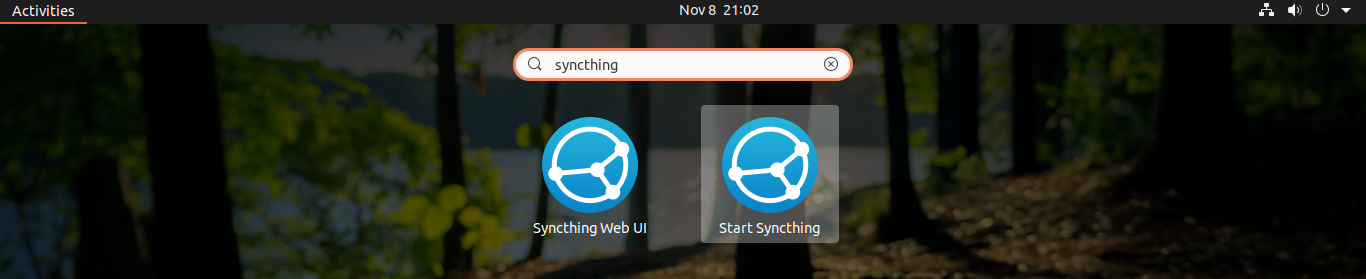
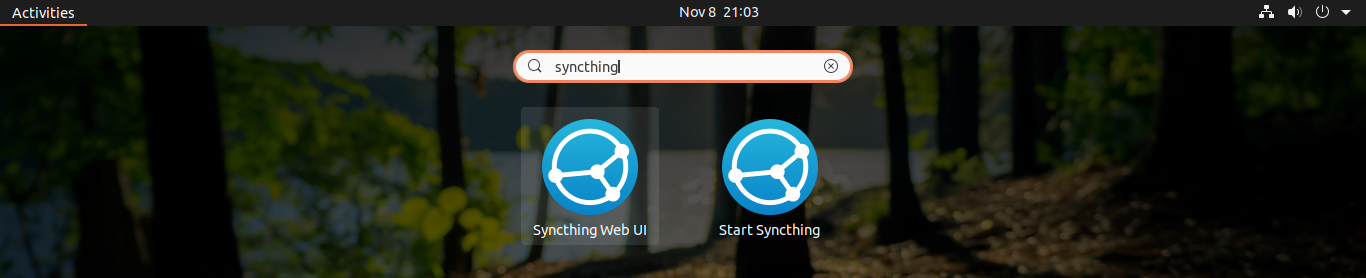
Once installed, launch SyncThing. From here on, the steps will mostly be similar on all platforms. The first step is to start the SyncThing daemon.
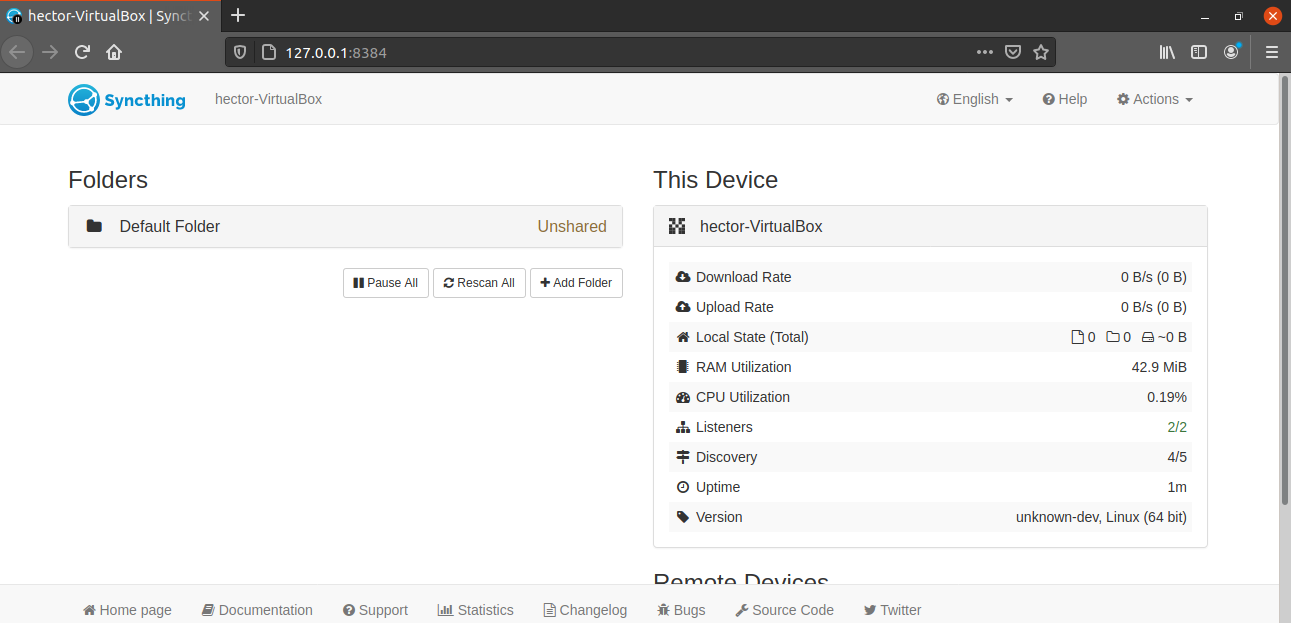
Then, launch the SyncThing web UI. This is the main control panel of SyncThing from which everything will be done.
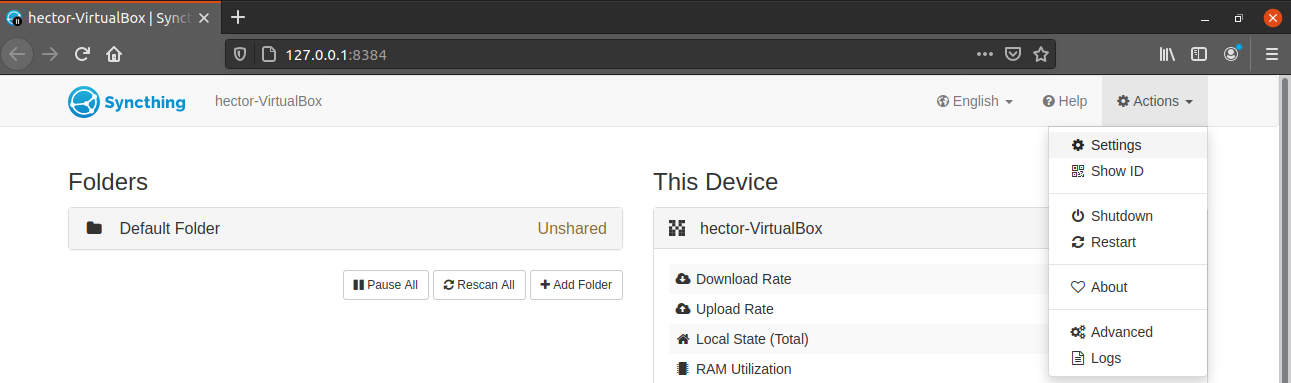
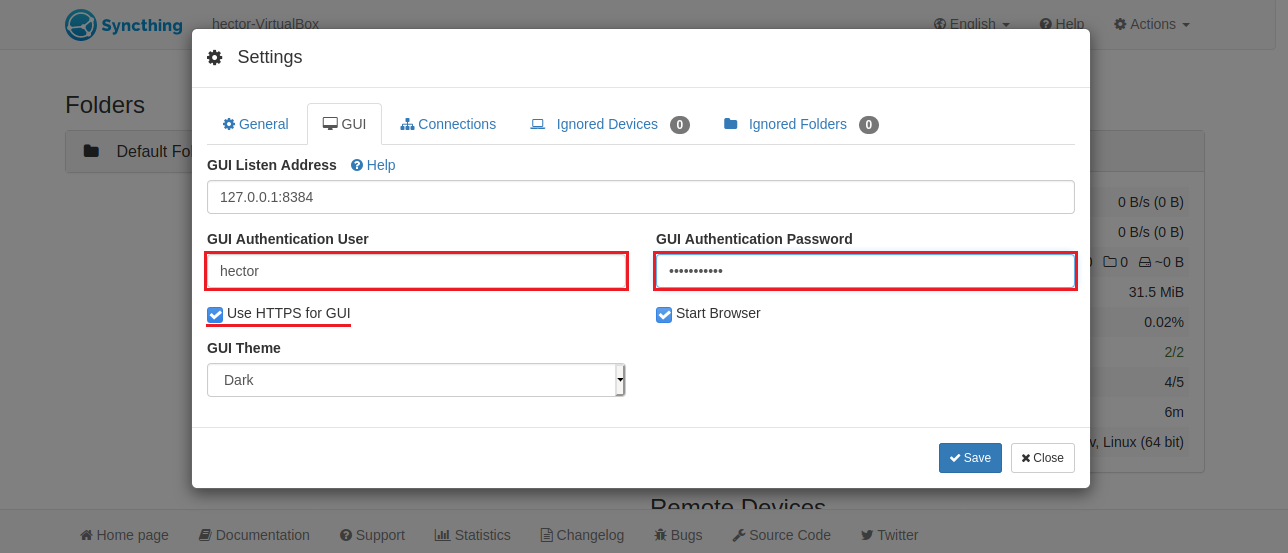
Once launched, the first step should be securing SyncThing access. Make sure to configure a username and password for security purposes. From the top-right corner, go to Actions >> Settings.
Head over to the “GUI” tab and enter a username and password for GUI authentication. Tick the option that enables HTTPS for GUI.
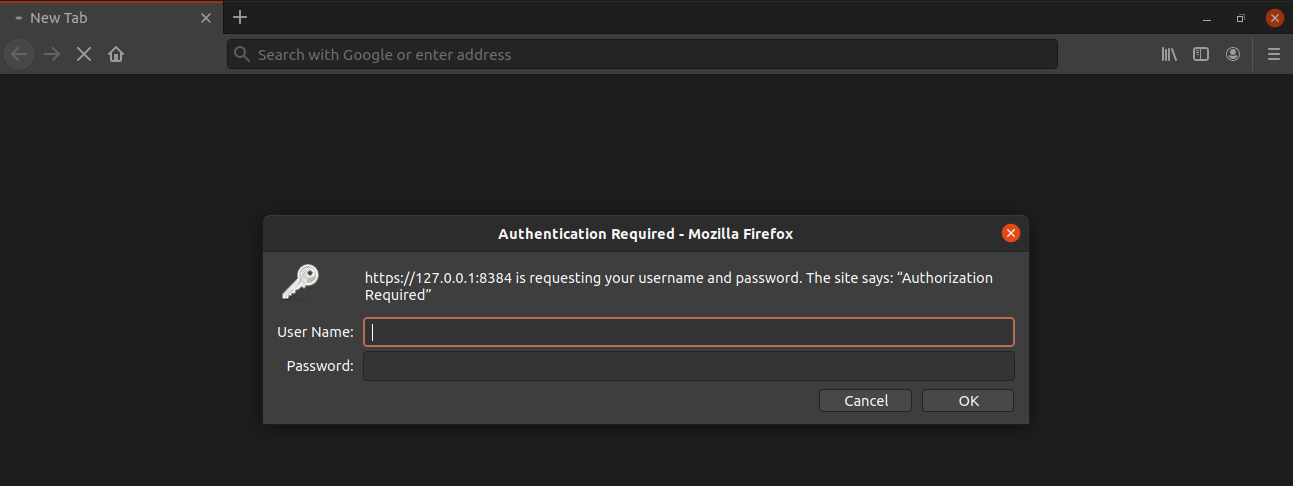
Once you save the changes, the webpage will reload and ask for authentication to the SyncThing web UI.
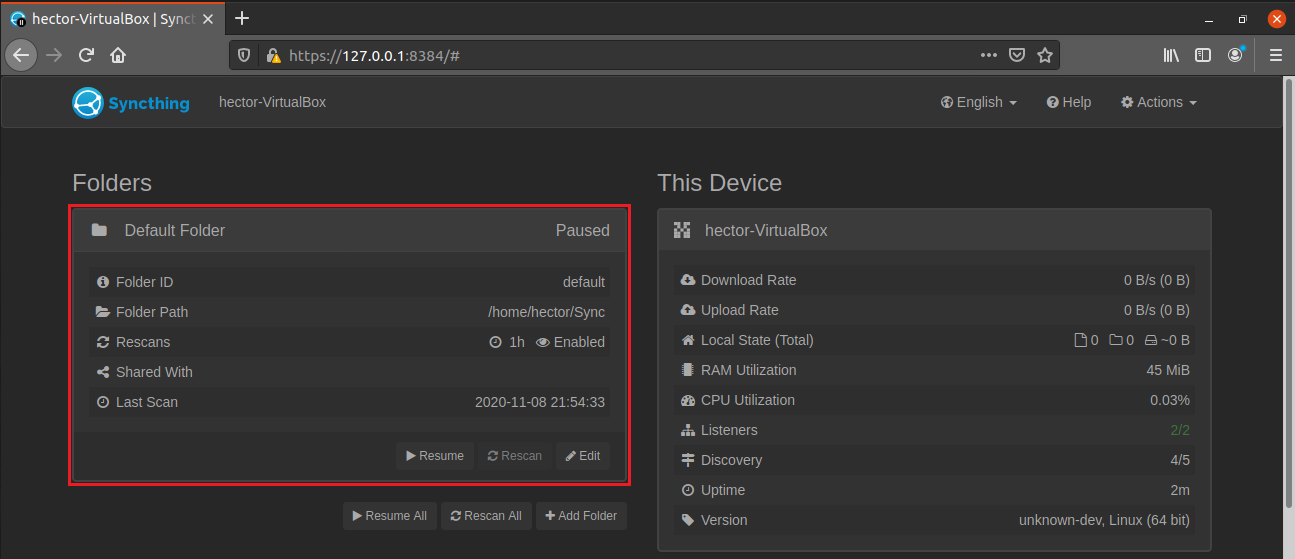
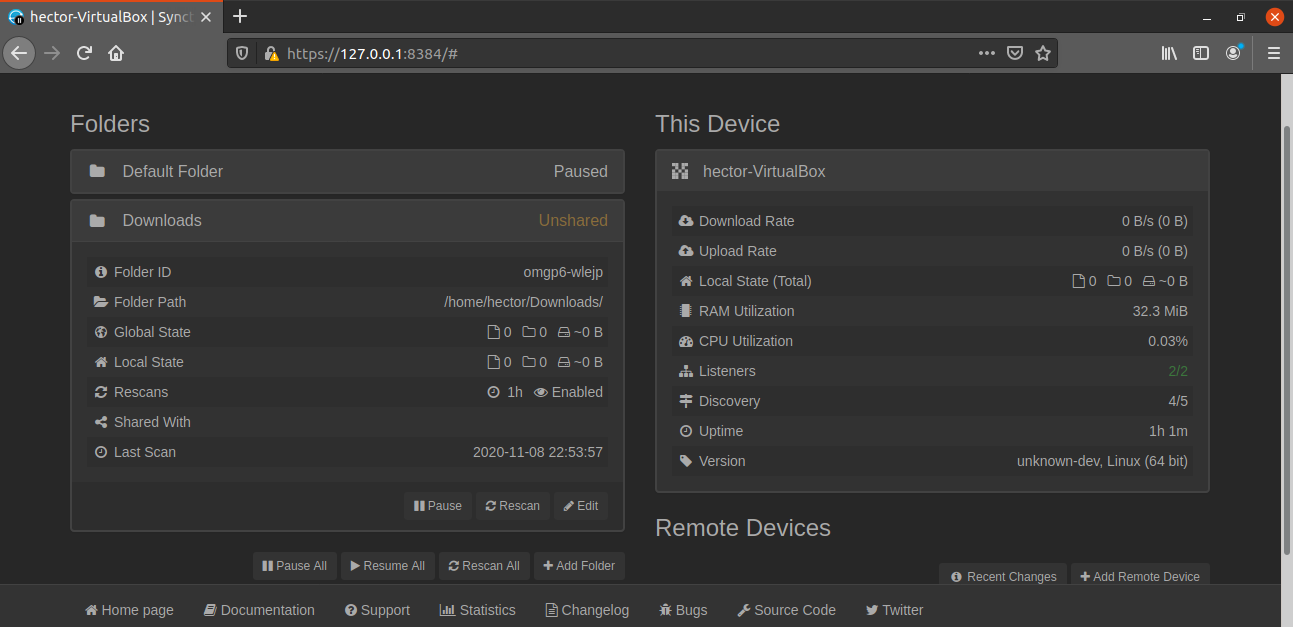
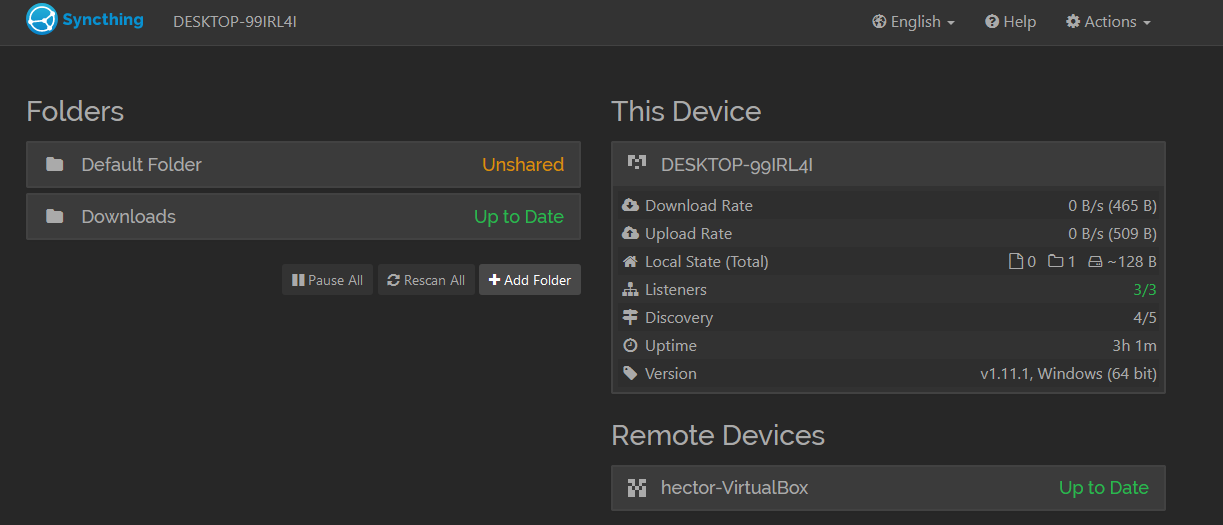
Next, check out how to add/remove folders to SyncThing for sharing. From the control panel, we can see that there’s already a default folder configured.
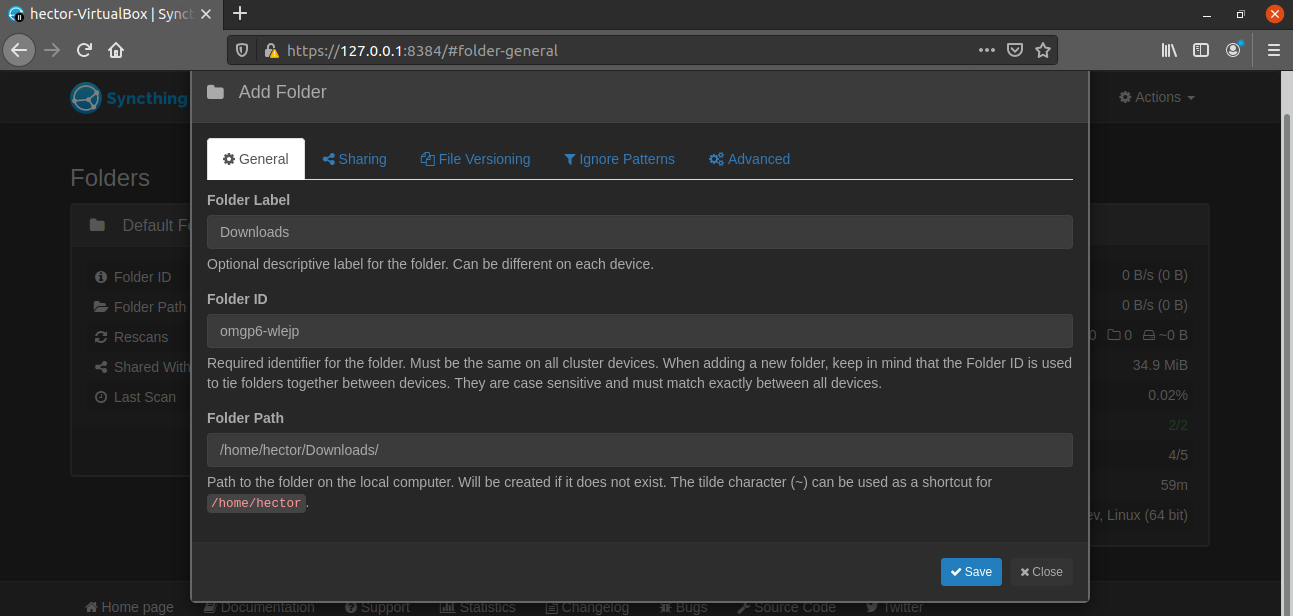
To add a folder of your choice, click “Add Folder”.
Give the folder a recognizable name. Enter the directory path in the “Folder Path” field. Generally, that’s all you need to share a folder. Note that it may not work if the user SyncThing is running under doesn’t have read permission to the directory and files.
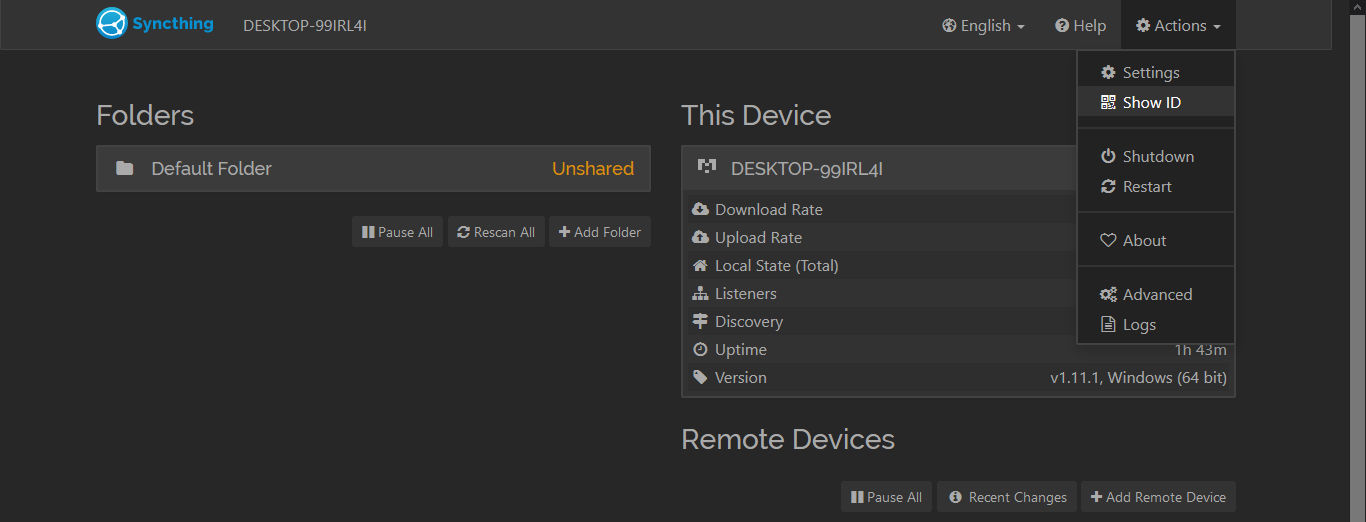
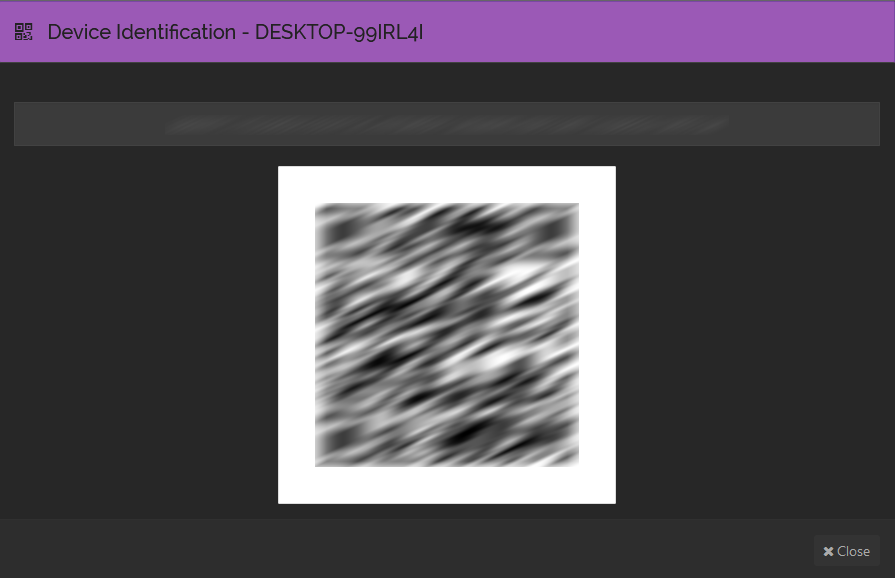
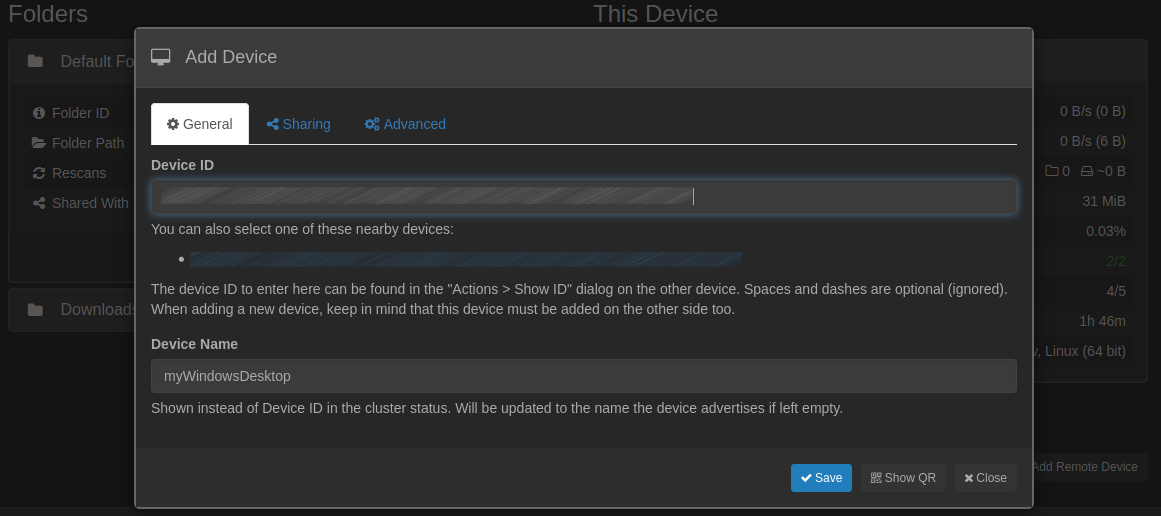
Time to add the remote desktop. We need the SyncThing device ID of the remote desktop to do so. The ID is available from Actions >> Show ID. In this case, it’s the SyncThing device ID of my Windows desktop.
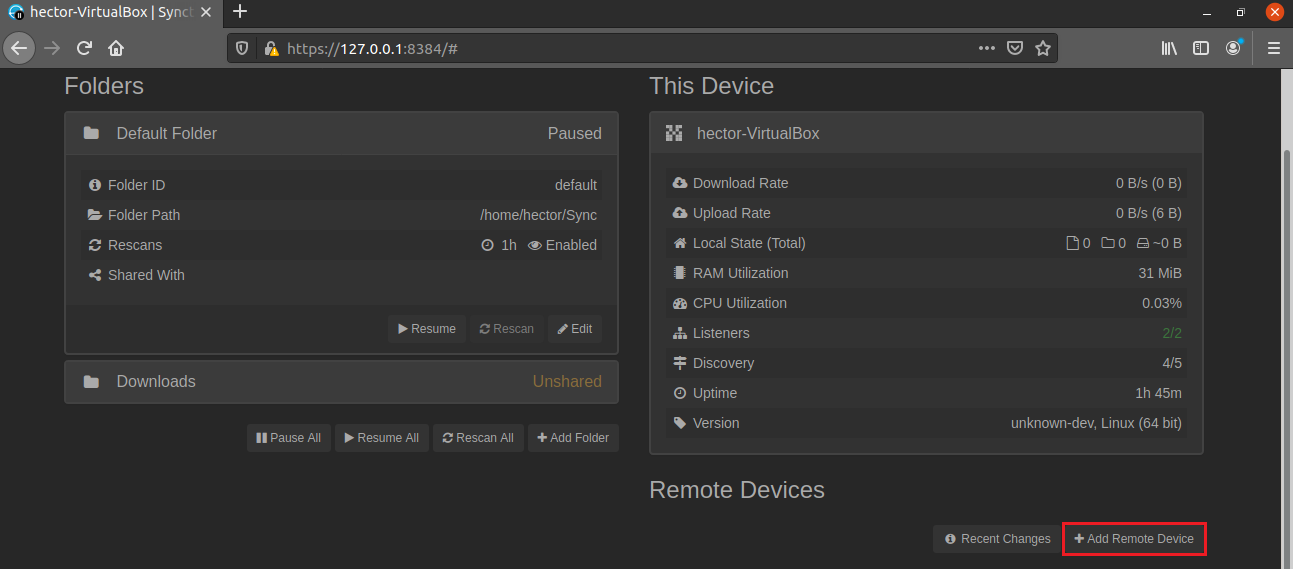
To add it to Linux, click “Add Remote Device” at the bottom-right corner of the SyncThing web control panel.
Enter the device ID. You can also manually set a device name.
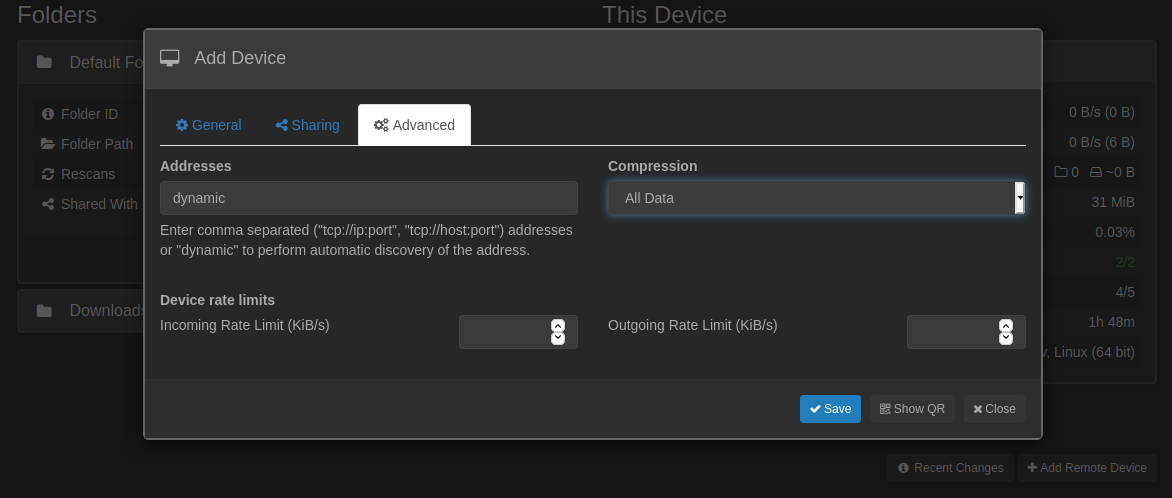
From the “Advanced” tab, you can make sure that all the data transfer with the device is going to be compressed. This can be useful to increase effective bandwidth.
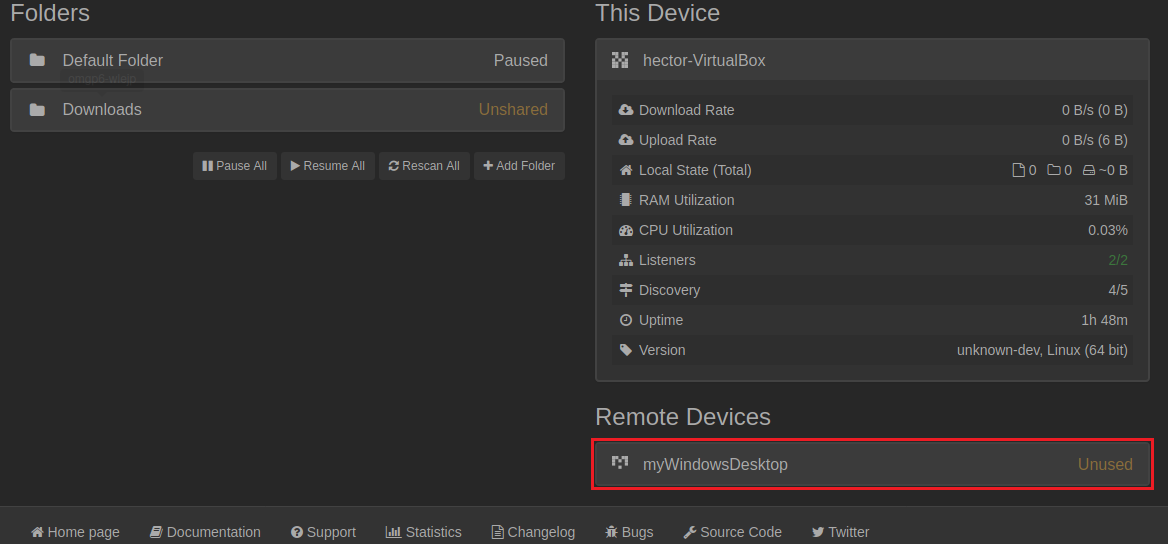
The desktop should appear on the list of remote desktops.
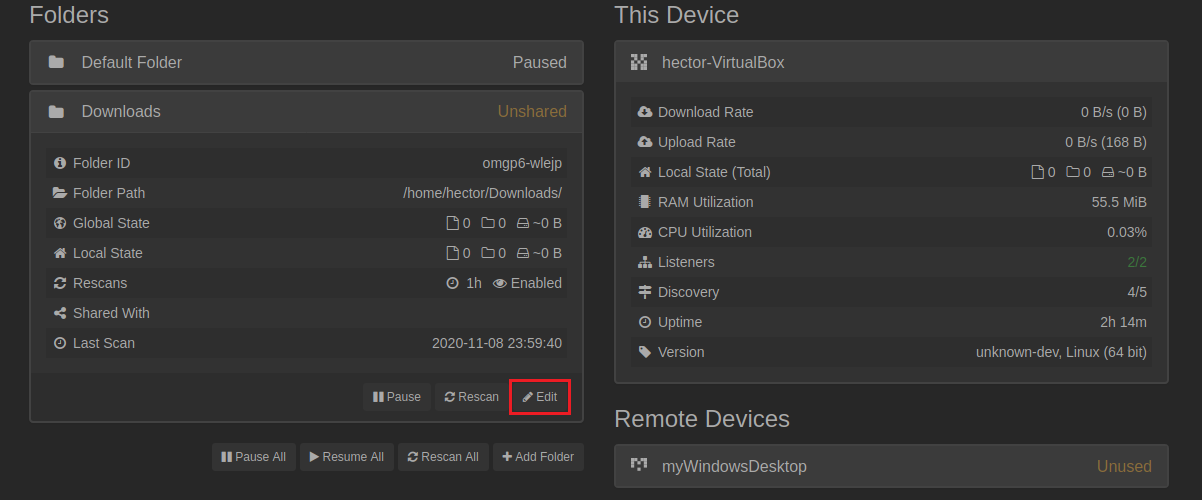
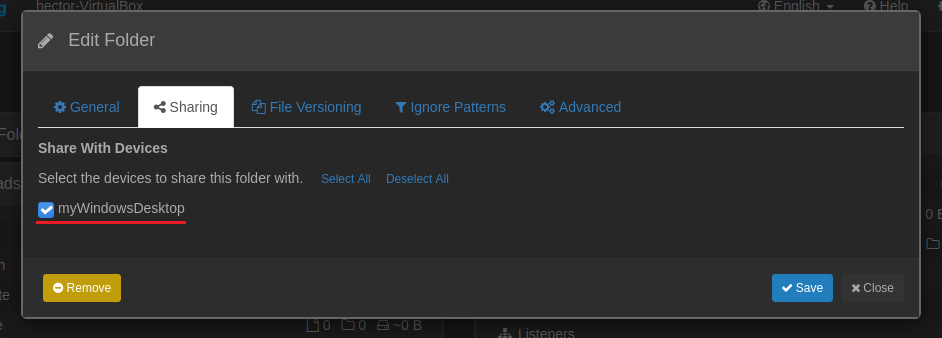
Let’s share the folder we just added with the Windows system. Click the folder and select “Edit”.
From the “Sharing” tab, select the remote desktop we just added.
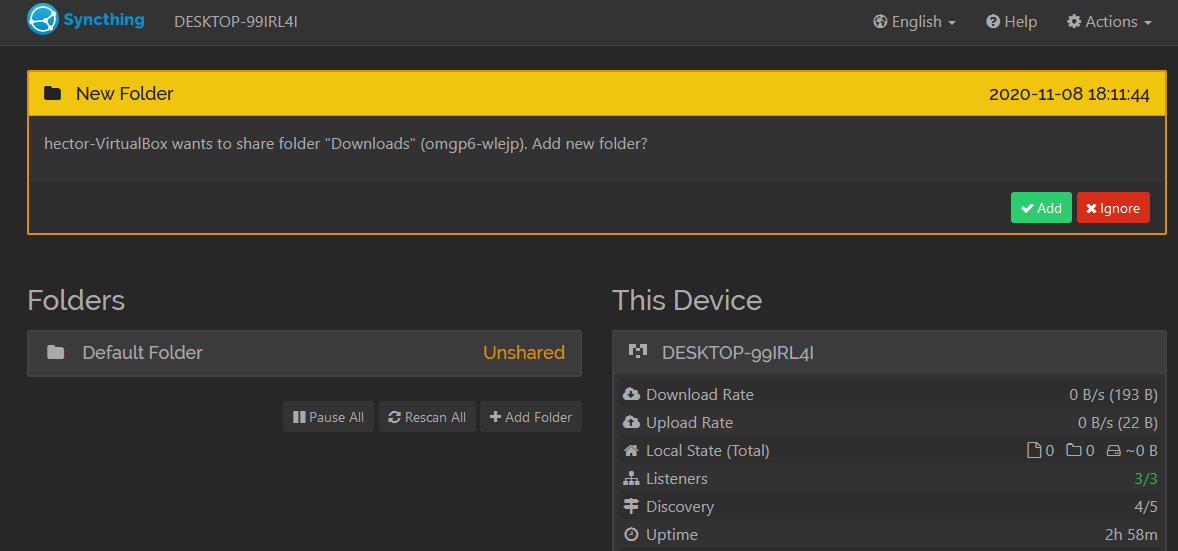
In Windows, the Linux SyncThing device ID must also be added. When the Linux system tries to connect, it’ll show the following popup in the Windows system. Click “Add” to confirm.
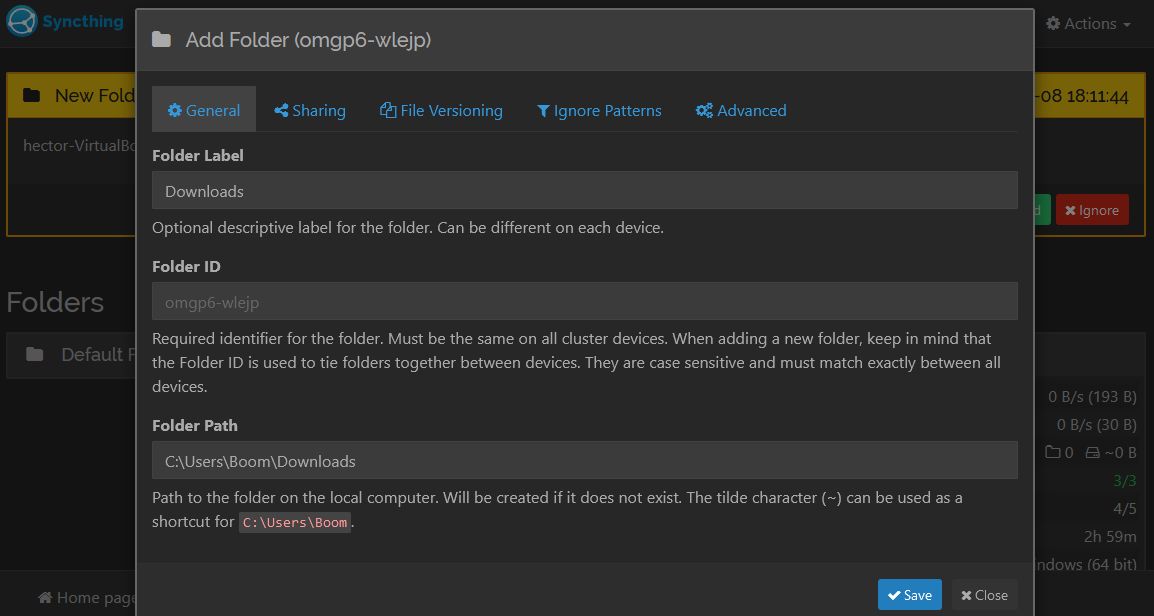
Decide where the incoming data should be saved (on the Windows machine).
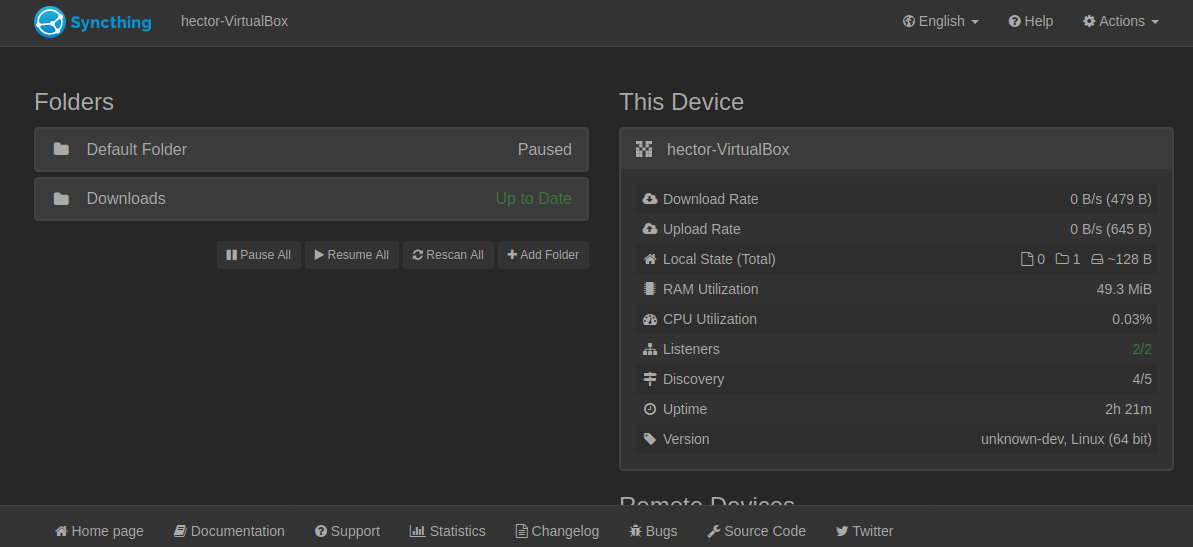
The sync should start. The time to finish the sync depends on your network bandwidth and the amount of data to be synced. Once complete, you’ll see that the folder is marked as “Up to Date” on both systems.
Final thoughts
There are various methods to share files between computers. Which method to choose? All up to you. Personally, using 3rd-party tools are the easiest way as those are tailored for this job only.
For experts, rsync is probably more preferable. It’s a command-line tool with tons of customizations and robust functionality. Check out how to use rsync to copy files.
Happy computing!