Debian 11.0 used to be launched on August 14th, 2021. The codename of Debian 11 is Bullseye. Debian is likely one of the broadly used Linux running methods and a well-liked selection for putting in and configuring servers for companies has simply were given the newest unencumber known as Bullseye. Bullseyes include heaps of latest applications, fortify for the exFAT document device, and an enhanced guide web page.
This write-up is that specialize in the set up of Debian 11 Bullseyes in your device. So if you’re new to Debian or need to improve easy apply the stairs discussed underneath:
Step 1 – Downloading Debian 11 ISO
Before continuing to the set up process first we want the newest Debian distro ISO. To obtain the present model of Debian distribution seek advice from Debian, click on at the “Download” button to get the ISO document.
Step 2 – Creating a bootable USB
Once you get the Debian ISO downloaded, time to make a bootable USB containing Debian 11 ISO. A 3rd-party application is needed to make a bootable USB, for that there are a few alternatives. Either Rufus or balenaEtcher can be utilized. BalenaEtcher is a a lot more easy and easy device.
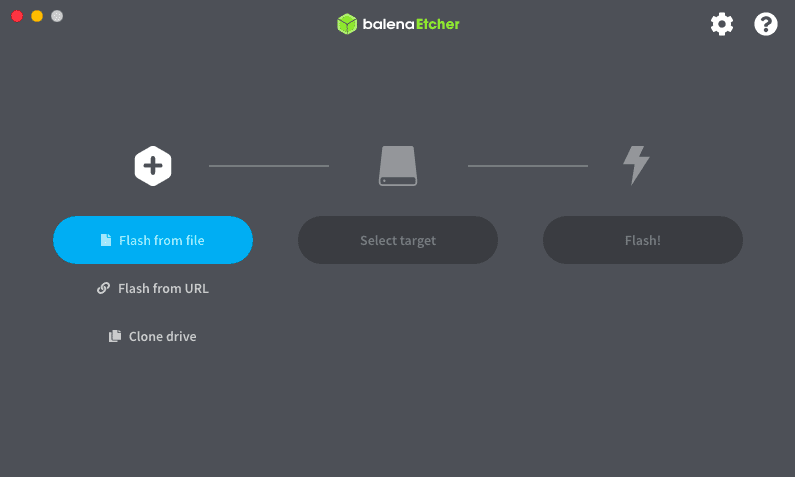
Insert USB and open balenaEtcher:
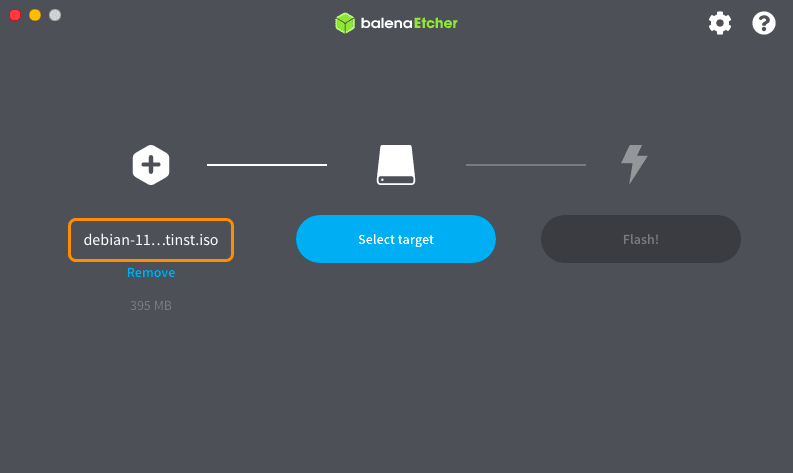
Now, choose the picture document, which is Debian 11 ISO document:
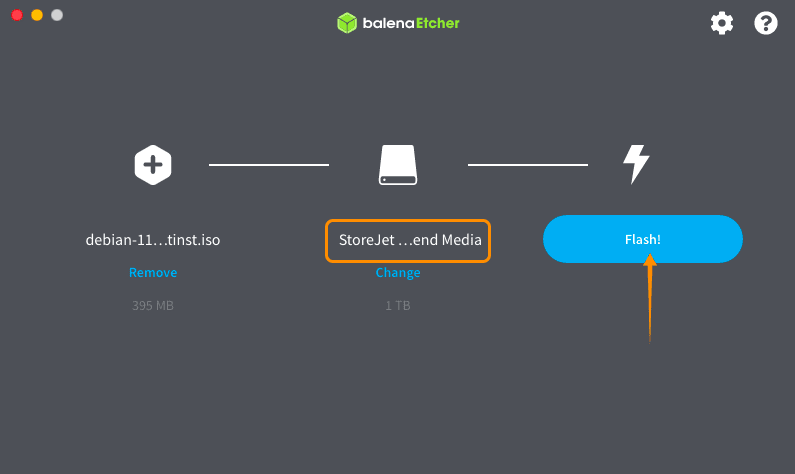
Select the USB pressure, click on on Flash:
The procedure will take a couple of mins.
Step 3 – Boot settings
Bootable USB with Debian 11 running device is able. Now, insert a USB into the objective PC and switch it on. Enter the boot menu: it is very important word that each gadget producer has other keys for the boot menu, conceivable keys are F1, F2, F10, or Esc. If you’re a mac consumer merely restart your PC, press, and dangle the choices/alt key to go into the boot disks menu.
Once you’re within the boot menu choose bootable USB and press Enter in addition.
Step 4 – Installing Debian 11 Bullseye
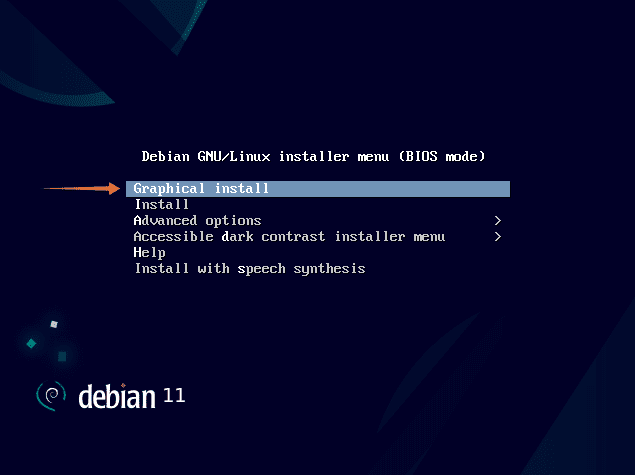
You gets an installer menu indicating other set up strategies. Choose one of the vital given strategies for putting in Debian 11 in your device. In this instructional we can cross with the perfect approach ie “Graphical Install” choice:
01. Choose the Graphical set up choice and hit input to proceed.
02. Select your most popular language and click on on “continue”. English might be th edefault decided on language.
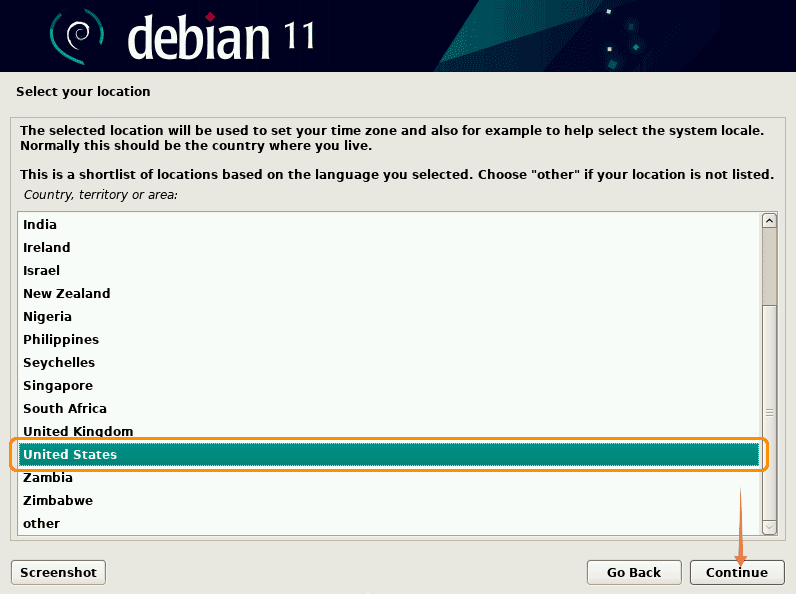
03. Now, choose your location, and Debian will set the time accordingly:
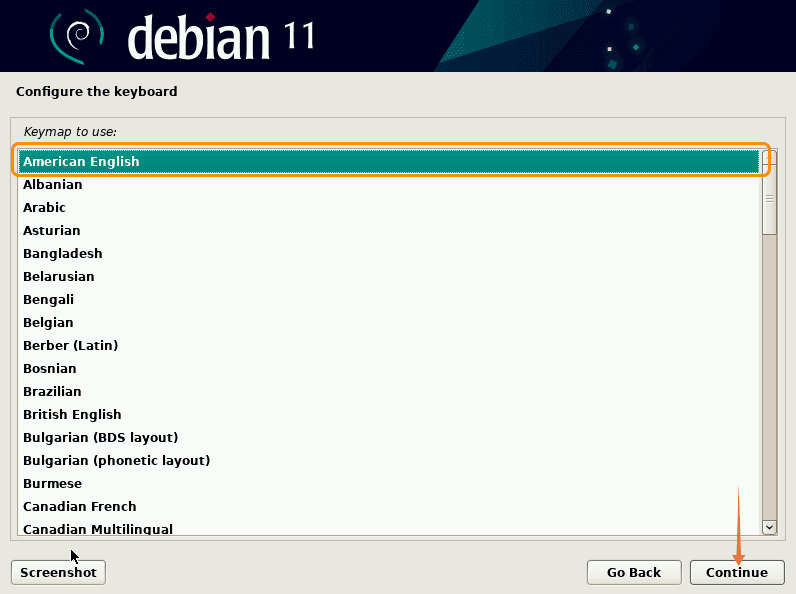
04. Next, configure the keyboard, you’re the usage of. select the keyboard language and click on proceed.
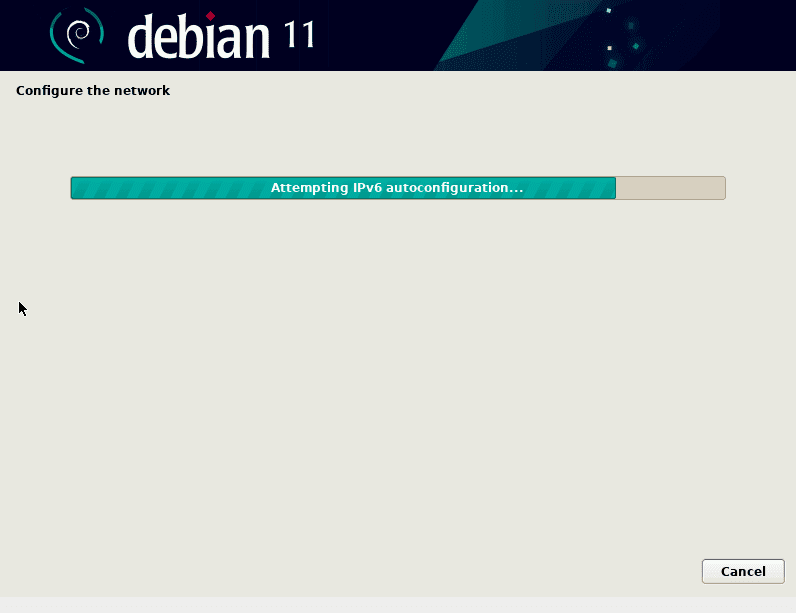
04. Upon clicking “continue”, Debian will configure community settings:
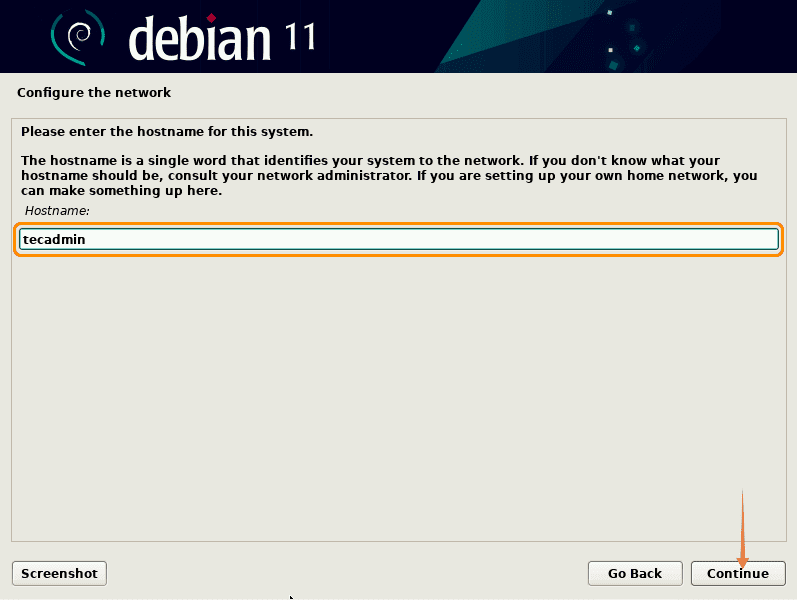
05. Now, the installer will instructed you to go into the hostname. A hostname is a unmarried phrase that identifies your device to the community. Click proceed.
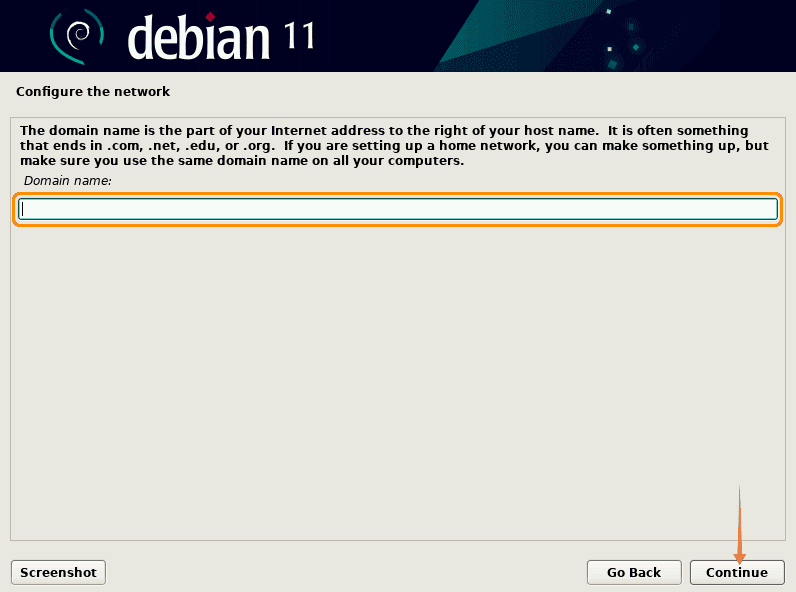
06. Next, the installer will ask for the area identify. If you don’t have any area identify, simply go away it empty and click on proceed.
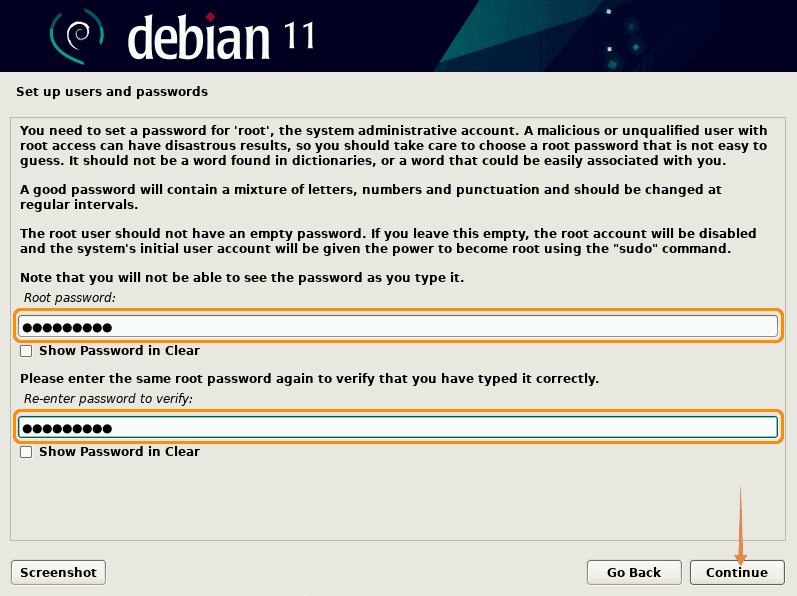
07. Time to set a robust password for the foundation consumer. As root has limitless privileges, so stay its password extra robust and don’t percentage it.
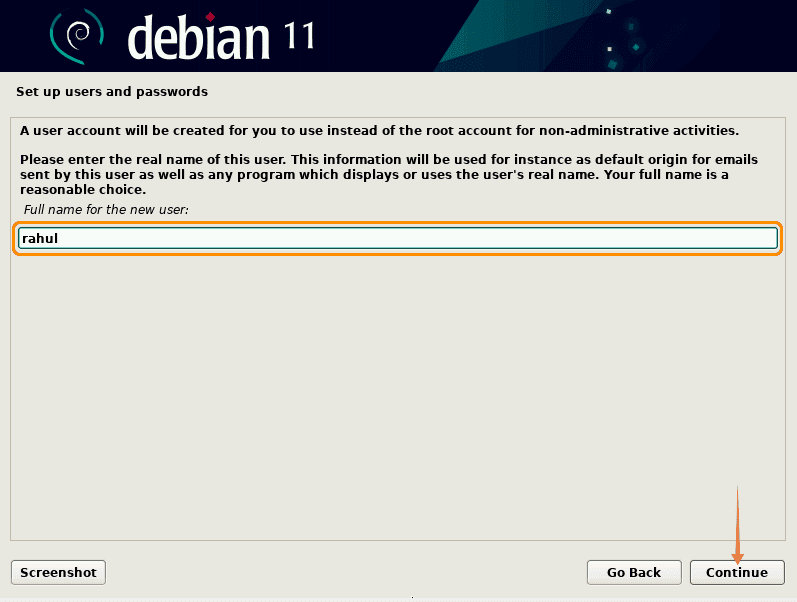
08. Enter a reputation for a consumer and click on on “continue”, although the consumer may also be created later. First kind the total identify of the consumer:
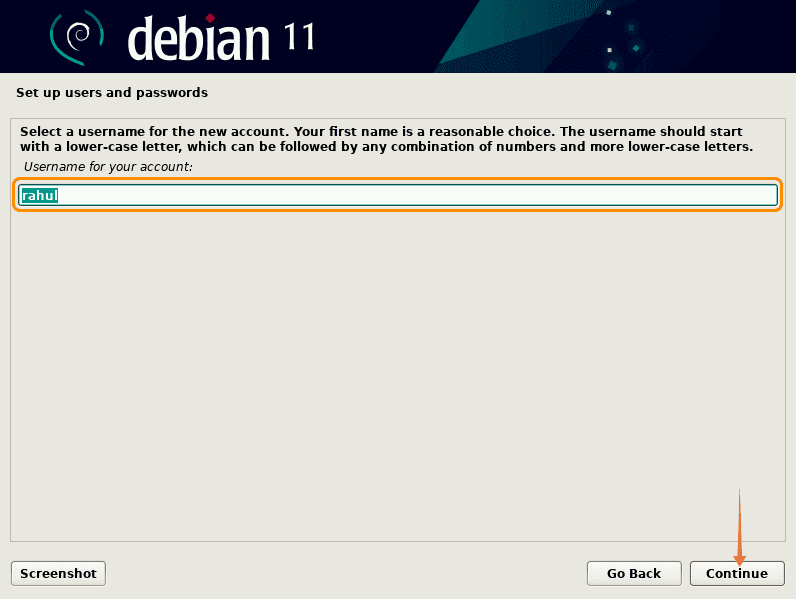
09. Give a username, this might be a sudo privileged account on your running.
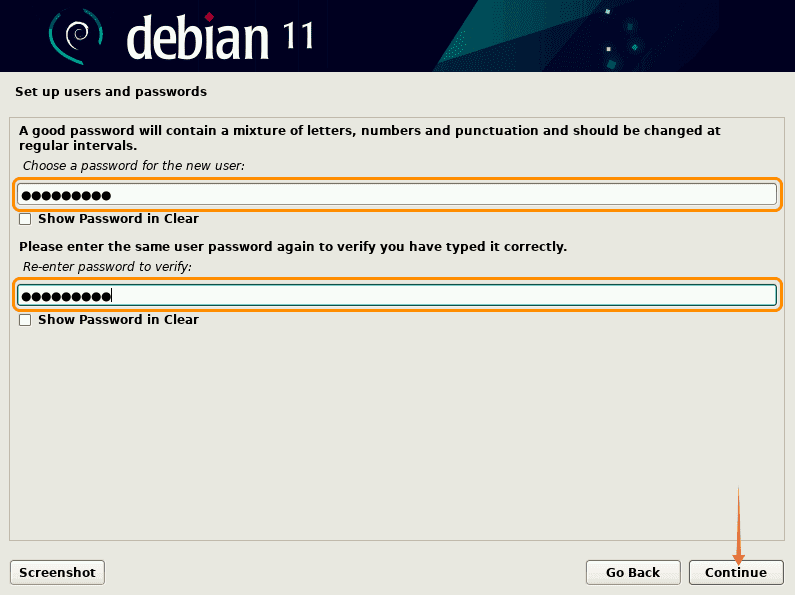
10. Now input a password for the brand new consumer:
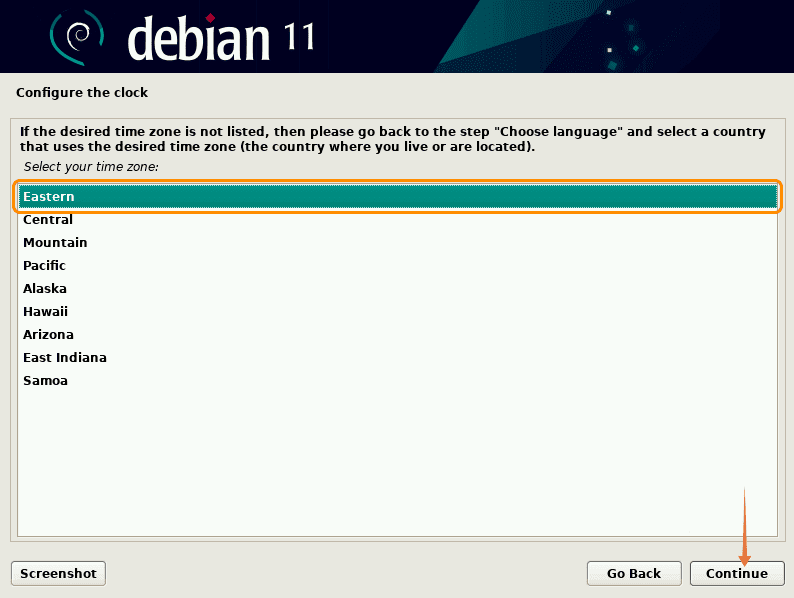
11. Choose a peffered timezone on your Debian 11 device and click on Continue.
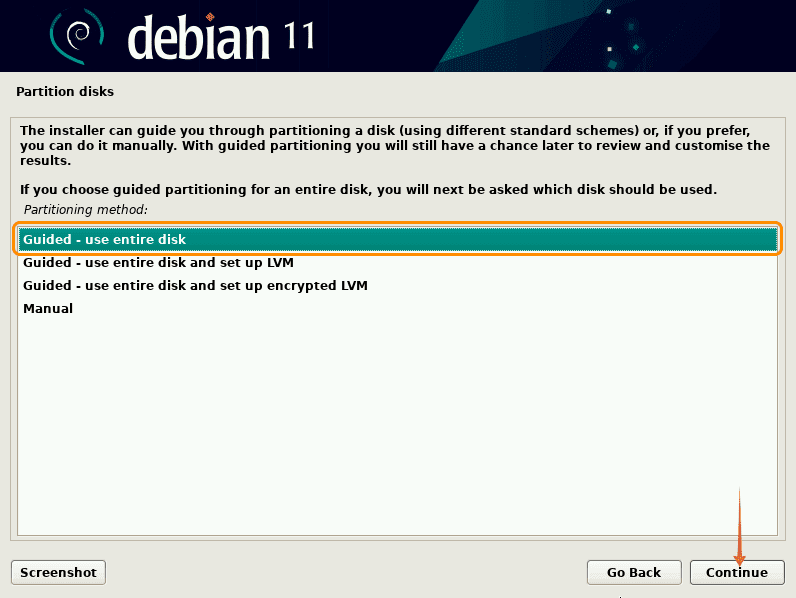
12. Partition approach relies on the non-public choice, for many customers default approach “Guided- use entire disk” is really helpful:
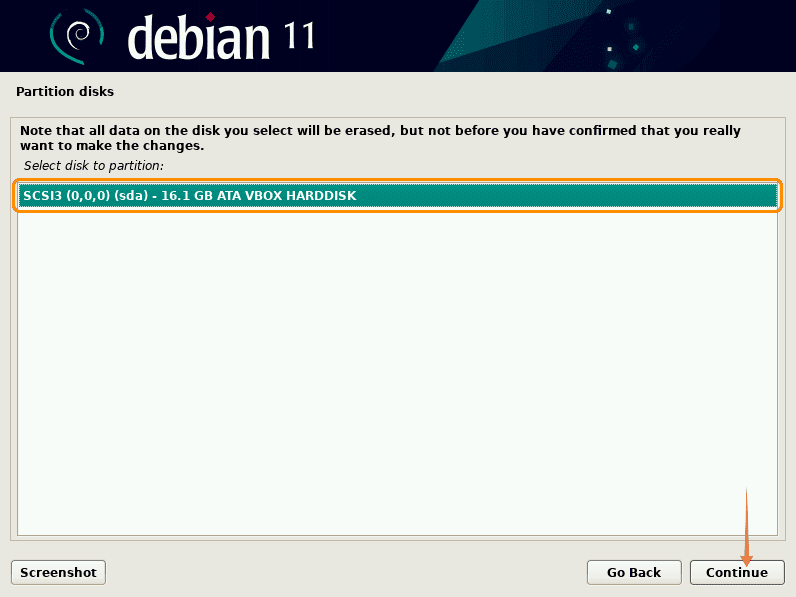
13. On this display, the entire hooked up onerous disks might be indexed right here. Now watch out whilst settling on the disk on account of different hooked up drives.
14. The subsequent step is set partition scheme, go away it default and click on on “continue”:. You too can select 2nd or 3rd choices as your selection.

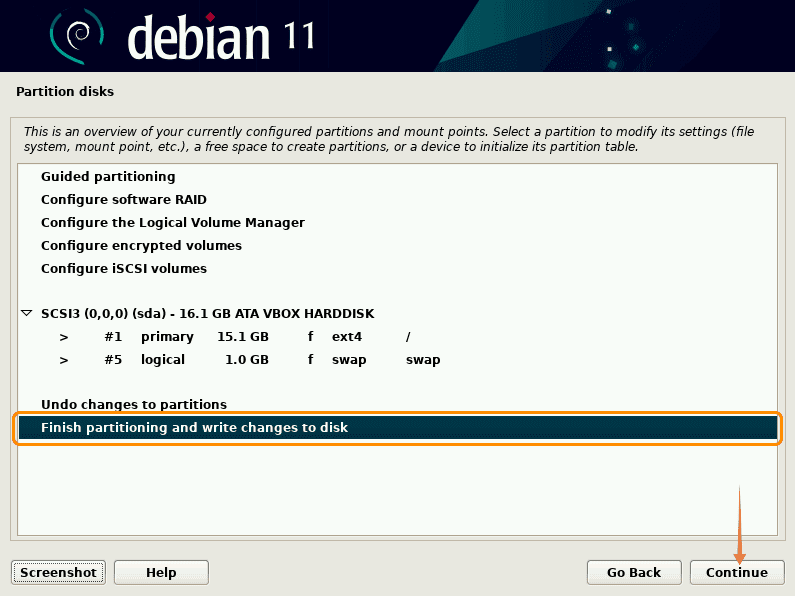
15. Next, you are going to be instructed with the partition settings. With the default variety within the earlier 2nd, you are going to see a root (/) and a switch partition. After reviewing it click on on “continue”:
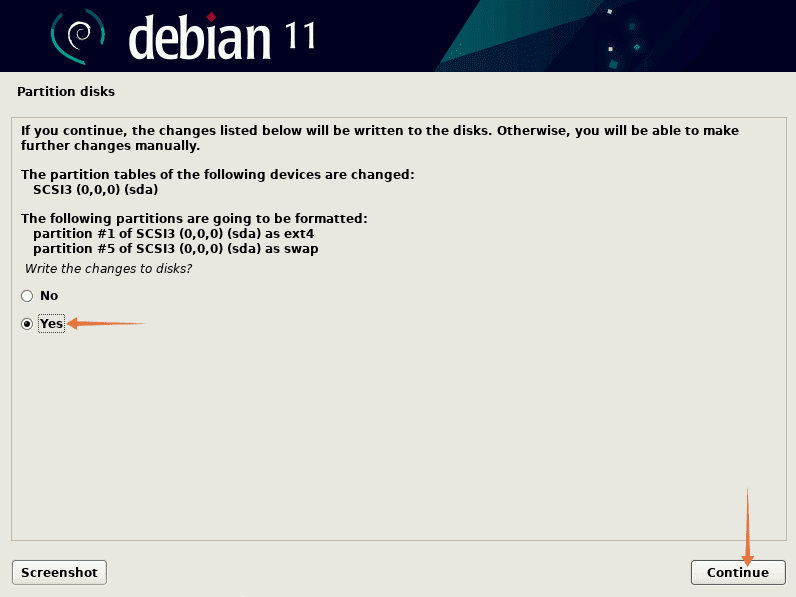
16. Confirm the configuration by means of settling on “Yes” and click on on “continue”:
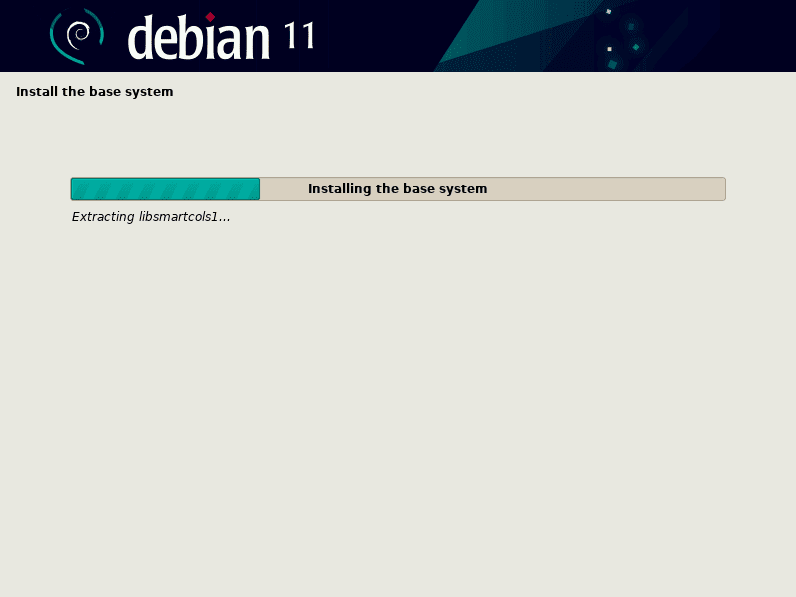
17. The base device set up will start:
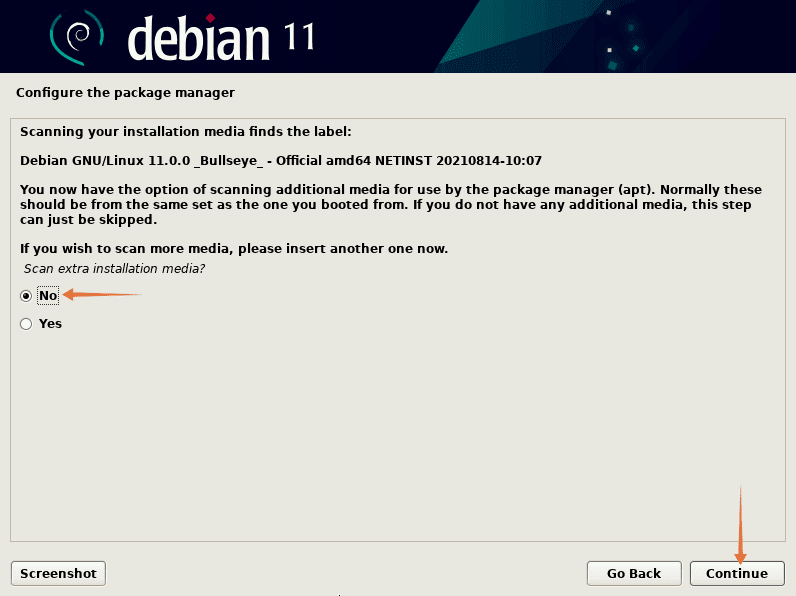
18. Now, arrange the package deal supervisor, if it asks for scanning garage media then choose “no”, and proceed:
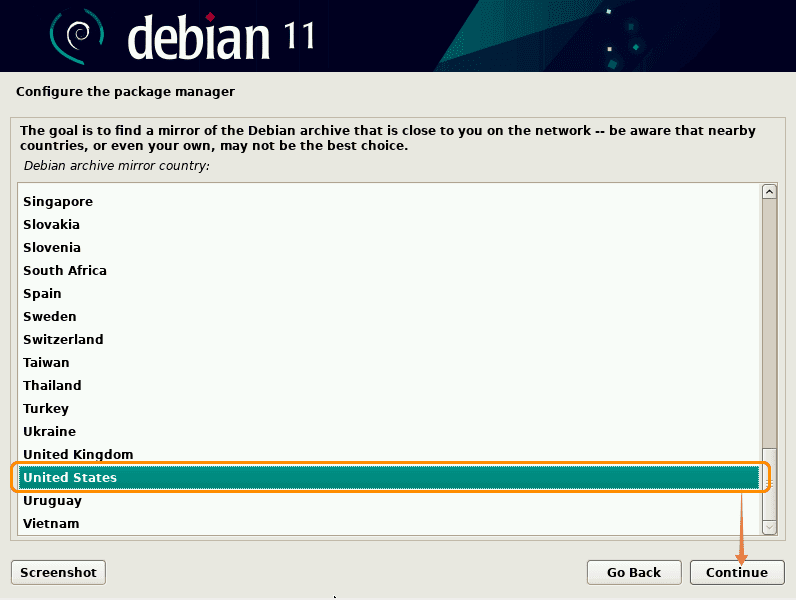
19. Now the installer will configure the package deal supervisor by means of the web. Select the archive reflect nation:
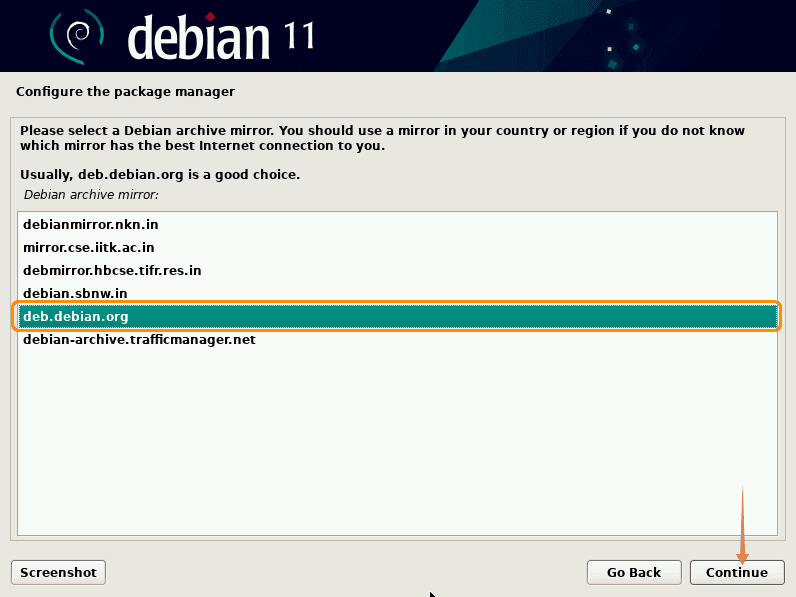
20. After settling on a rustic, select archive reflect:
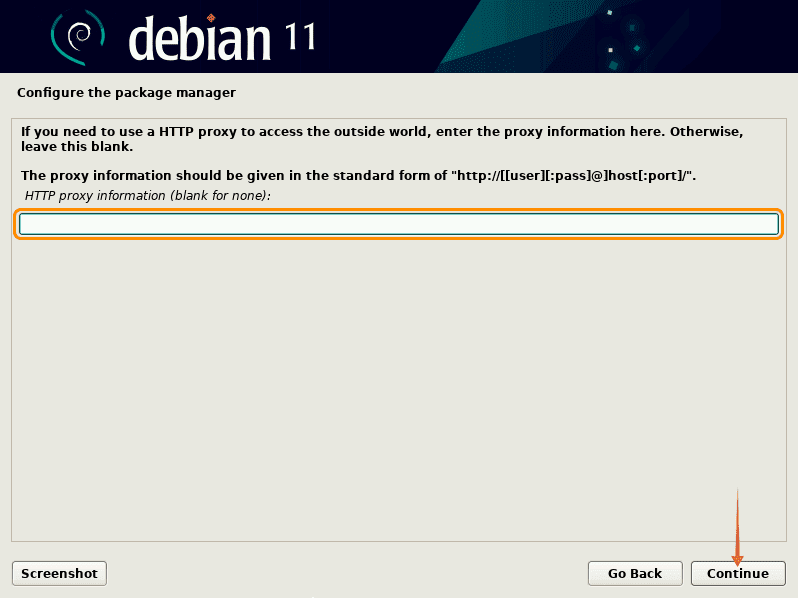
21. Leave the HTTP proxy clean:
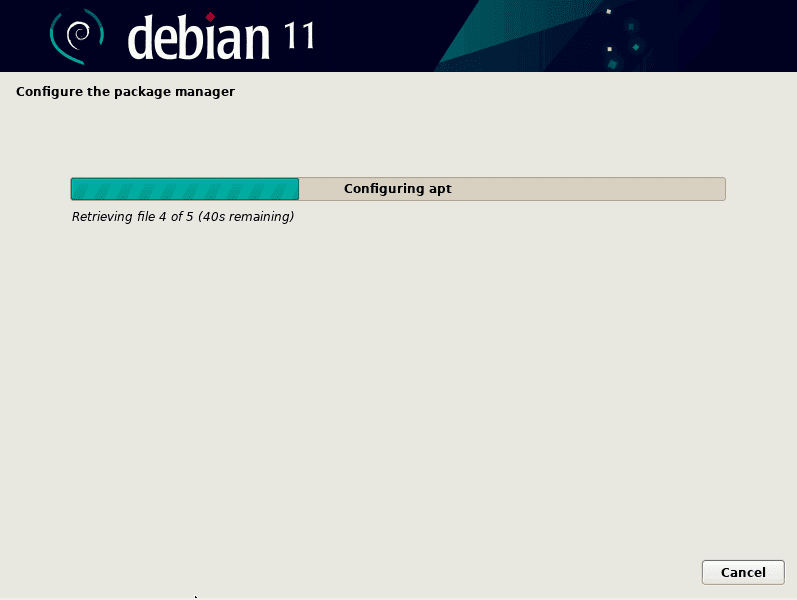
22. Now, look ahead to package deal supervisor configuration:
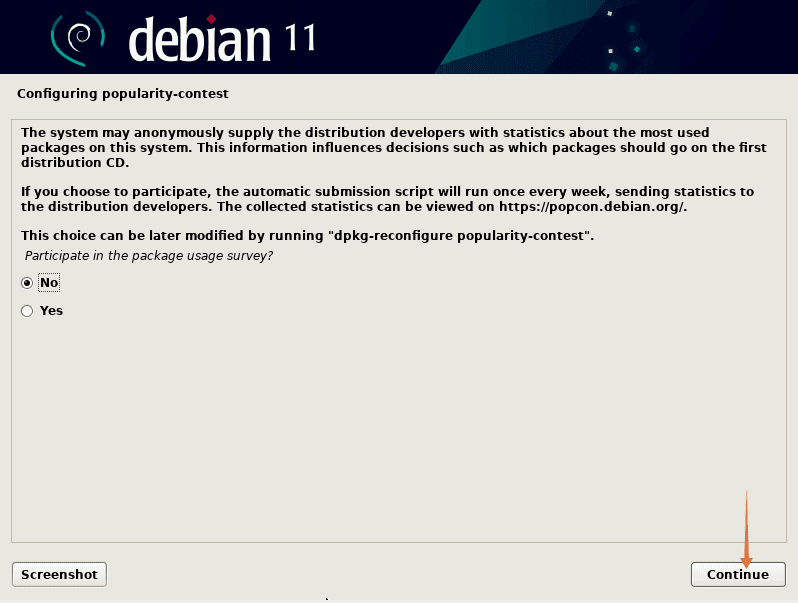
23. After that, you are going to be instructed with a package deal utilization survey choice, if you wish to take part choose “yes” differently “no”:
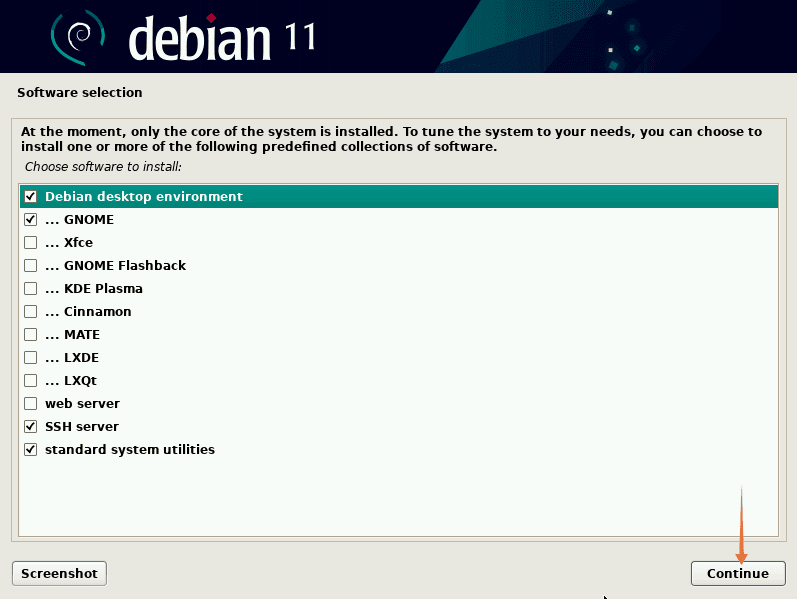
24. Now, select the desktop surroundings from the checklist and different utilities corresponding to SSH to put in:
25. Wait for the set up procedure to complete:

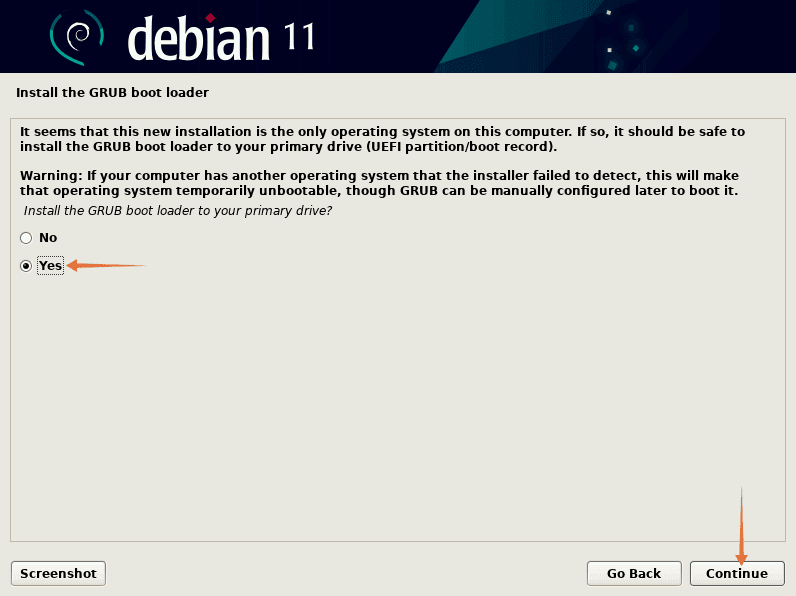
26. The subsequent, step is boot loader set up, press “yes” to put in the GRUB boot-loader, it is very important set up as a result of with out it Debian is not going to load:
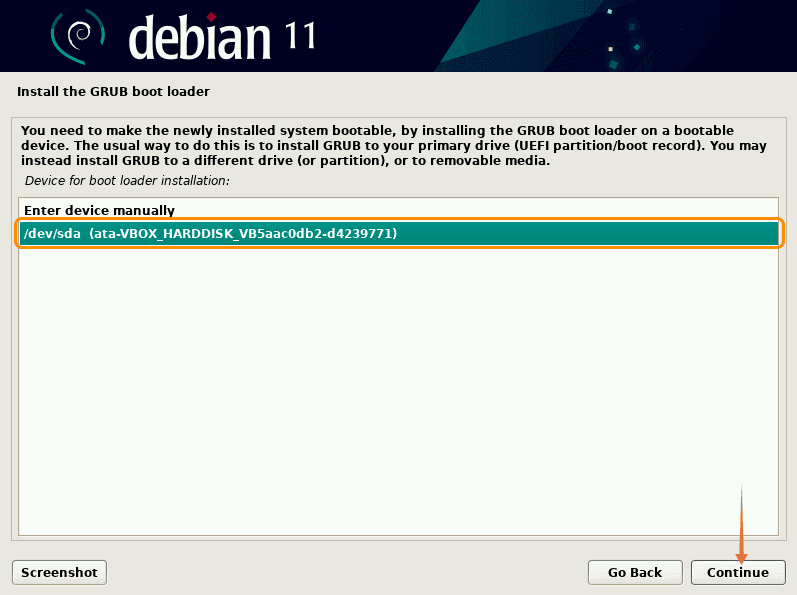
27. Now, choose the garage media on which Debian is put in, it’s typically “/dev/sda”, click on “continue”:
28. Wait for the set up:
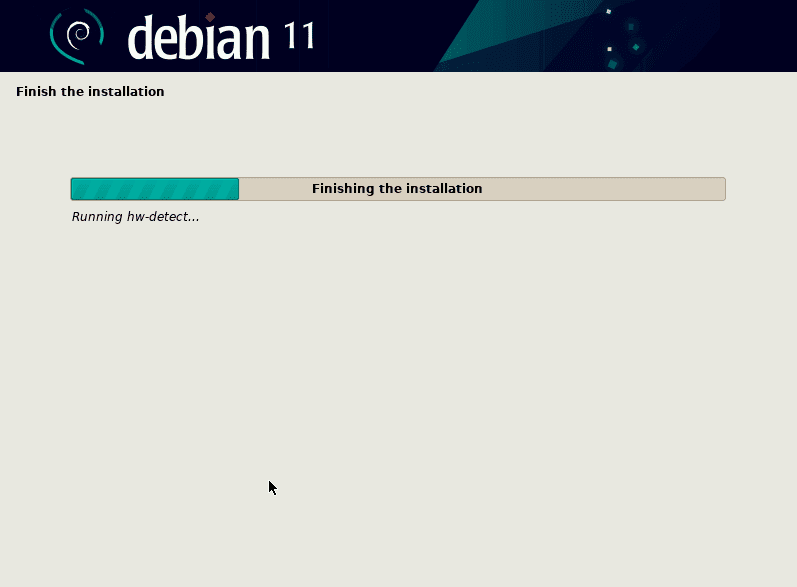
29. Now, the set up is finished:

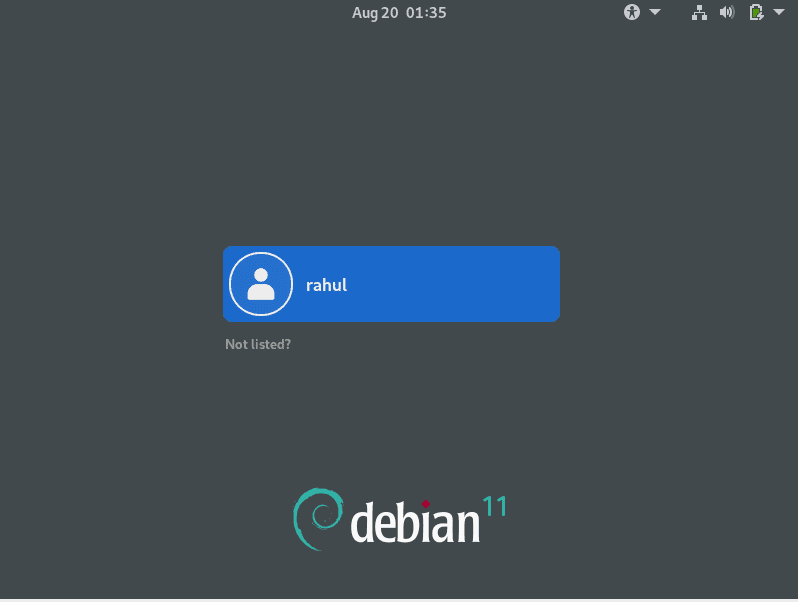
30. Now you are going to see the login display, input credentials created within the earlier steps to start the usage of the newest Debian 11 Bullseye:
Congratulations, You have put in probably the most solid model of Debian Linux in your device.
Conclusion
Debian 11 Bullseye comes with a large number of enhanced options and to get right of entry to the newest improvements, it’s endorsed to improve if you’re the usage of an older model of Debian. There are more than a few techniques to get Debian 11 in your gadget; a bootable USB pressure with Debian ISO is really helpful on account of its comfort. This write-up gave a radical information on learn how to set up Debian 11 in your gadget.