There is a comprehensive collection of open-source tools for playing, editing, converting, saving, optimizing, and managing multimedia files. However, many tools, such as VLC and Handbrake, all share one engine: FFmpeg.
FFmpeg is an open-source collection of tools for handling multimedia files. FFmpeg contains a set of shared multimedia libraries such as libavcodec, libavutil, and libavformat. Moreover, it works behind the scenes with many multimedia tools. Thus, allowing you to convert video and audio files, perform streams, and resize video files.
This guide will show you how to work with FFmpeg:
How to Install FFmpeg
FFmpeg is a fully featured command-line utility for handling multimedia files. It is available in the repositories of major Linux distributions.
To install it, use the following commands:
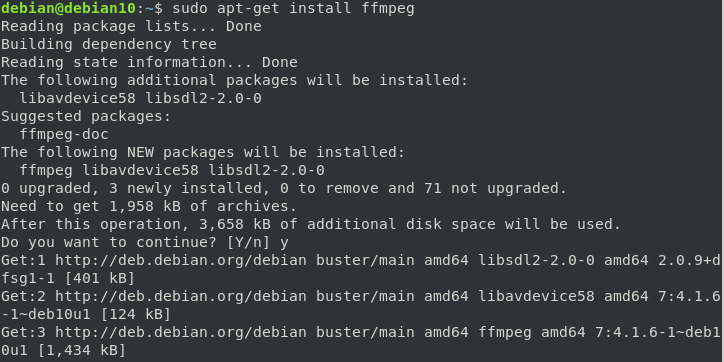
# Debian/Ubuntu
sudo apt-get install ffmpeg
# Arch Linux
sudo pacman -S ffmpeg
#REHL/CentOS/Fedora
sudo dnf install ffmpeg
sudo rpm install ffmpeg
sudo yum install ffmpeg
FFmpeg Basic Usage
Selecting the correct codec, container, and format can be very challenging when converting multimedia files. However, with FFmpeg, you can stick to the default settings and expect outstanding results.
To convert a file using default FFmpeg settings, use the following command:
ffmpeg -i inputfile.video outputfile.video
The command above will convert the file from the specified format to the output format. However, to compress files efficiently, we need to use codecs, bitrate, container, and fps.
How to Use FFmpeg to Reduce Video Size
There is no universal way to reduce a video file size because various file types are not created equal. For example, an AVI video file might still be larger than the small file of MP4 type despite being a small size.
To make the best decision in video compression, we implement a simple equation. First, we need to select a small container, an excellent codec to encode the video, a low bitrate, and a low fps.
In this tutorial, we will use the x265 codec. The x265 codec is a free library for encoding video into H.254/MPEG-H HEVC compression format.
You can learn more here: https://www.videolan.org/developers/x265.html
Using the CRF of values between 0 and 51 should provide the best compatibility for x265 codecs.
The Constant Rate factor (CRF) is the default quality setting for x264 and x265 encoding. The higher the value, the higher the compression, although this may lead to quality loss. On the other hand, low values will also result in high bitrate producing high-quality videos at the expense of file size.
Learn more about CRF here: https://slhck.info/video/2017/02/24/crf-guide.html
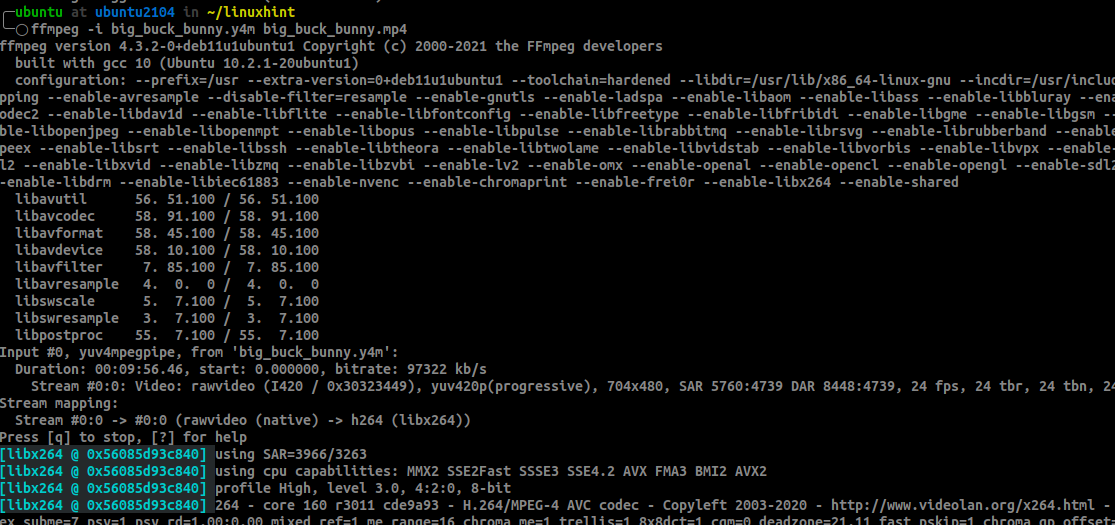
Consider a file big_buck_bunny.y4m with a file size of 7 GB.

Using FFmpeg, we can compress the file using the command:
ffmpeg -i big_buck_bunny.y4m -vcodec libx265 -crf 28 fps-fps=30 big_buck_bunny.mp4

Once the file compression process has been completed, the file size should be considerably smaller. For example, in this case, FFmpeg compresses the file from 7 GB to 26 MB.

Conclusion
Although using custom compression options can produce good results, using the default FFmpeg options might work better in some circumstances. Experiment with what you have learned from this tutorial to determine what works best for you.