Computer networking allows users to send and receive messages, data, and instructions. There are many tools and utilities that are designed especially for this purpose, one of which is Netcat, or more commonly known as NC.
What is Netcat?
Netcat is a networking utility that allows its users to write and read data to and from computer networks. Commonly, it uses TCP or UDP for this function. Netcat makes it easy to send and receive messages on Linux and its back-ends-like nature, which allows it to be used by other scripts and programs. Furthermore, it is cross-platform and usually preinstalled on many popular Linux distros such as Debian, Ubuntu, and CentOS. It is a handy tool that makes information sharing, or more generally, computer networking, possible and easy.
Installing Netcat
Let us take a look at what the basics of Netcat are and how you can start using it for networking. As we mentioned earlier, it is mostly preinstalled in Ubuntu (the Linux distro we will be using to demonstrate usage of NC) and other popular Linux systems, so you will not need to install it probably. However, if you are a CentOS 7/8 or RedHat user, the following brief tutorial on its installation is for you.
The first step is to make sure that you have the yum command already installed on your computer, as that is what we will be mainly used to install Netcat. Having said that, next, you need to update all your packages before proceeding any further.
Once that is done, all that is left to do is to install the Netcat package. Run the following command to do so.
Lastly, you could verify if the installation went smoothly by running an rpm command.
$ rpm -qa | grep -i rmap-ncat
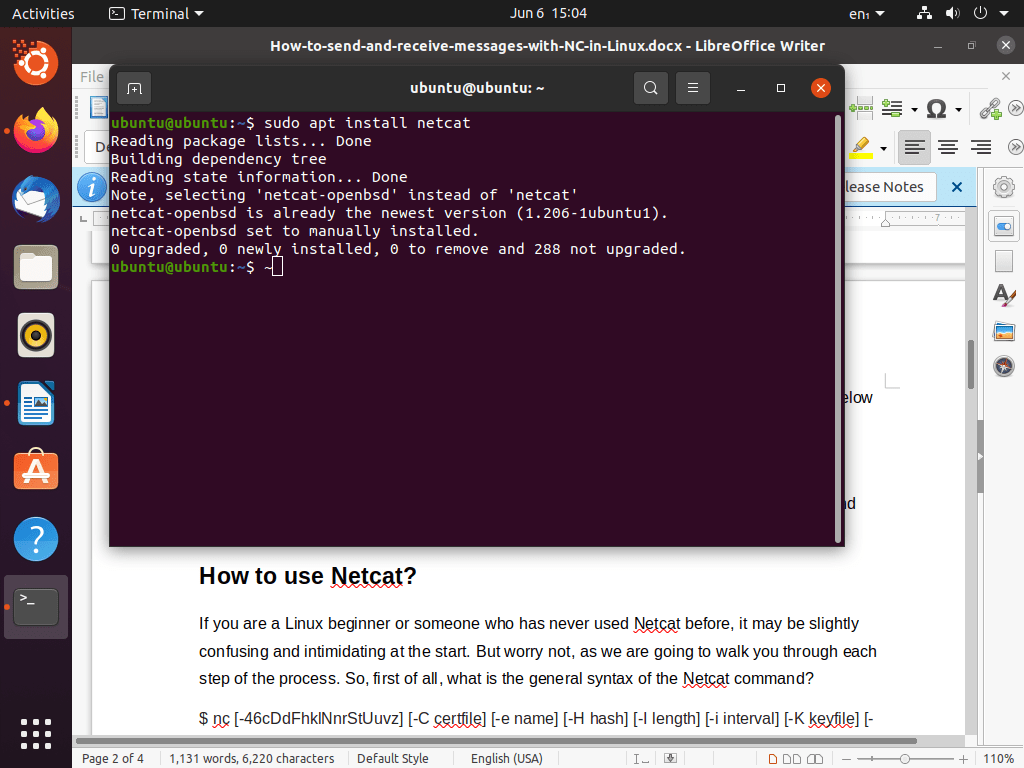
On Ubuntu, if you for some reason do not already have it preinstalled, run the command below to get it.
$ sudo apt install netcat
That should be it for the installation instructions. When you are sure, you have Netcat up and running on your Linux system, proceed to the next section.
How to use Netcat?
If you are a Linux beginner or someone who has never used Netcat before, it may be slightly confusing and intimidating at the start. But worry not, as we are going to walk you through each step of the process. So, first of all, what is the general syntax of the Netcat command?
$ nc [-46cDdFhklNnrStUuvz] [-C certfile] [-e name] [-H hash] [-I length] [-i interval] [-K keyfile] [-M ttl] [-m minttl] [-O length] [-o staplefile] [-P proxy_username] [-p source_port] [-R CAfile] [-s source] [-T keyword] [-V rtable] [-w timeout] [-X proxy_protocol] [-x proxy_address[:port]] [destination] [port]
Admittedly so, that looks terrifying if you are just starting off with computer networking. Let us simplify it a bit and bring it down to a tamer, more accessible level.
That’s better. Now, you are not going to be using all the options at the same time, so the commands we are going to deal with will not be that complicated. The main objective of this tutorial is to show you how you can send and receive messages with Netcat, which we will be getting to as soon as you are acquainted with the basics.
We have three arguments in the general syntax – namely, options, host, and port. By default, Netcat will establish a TCP connection with the host and port you enter, but you can change it to UDP by passing -u to the command, as shown below.
Next, we can test whether Netcat is working correctly or not by trying to connect to Google.
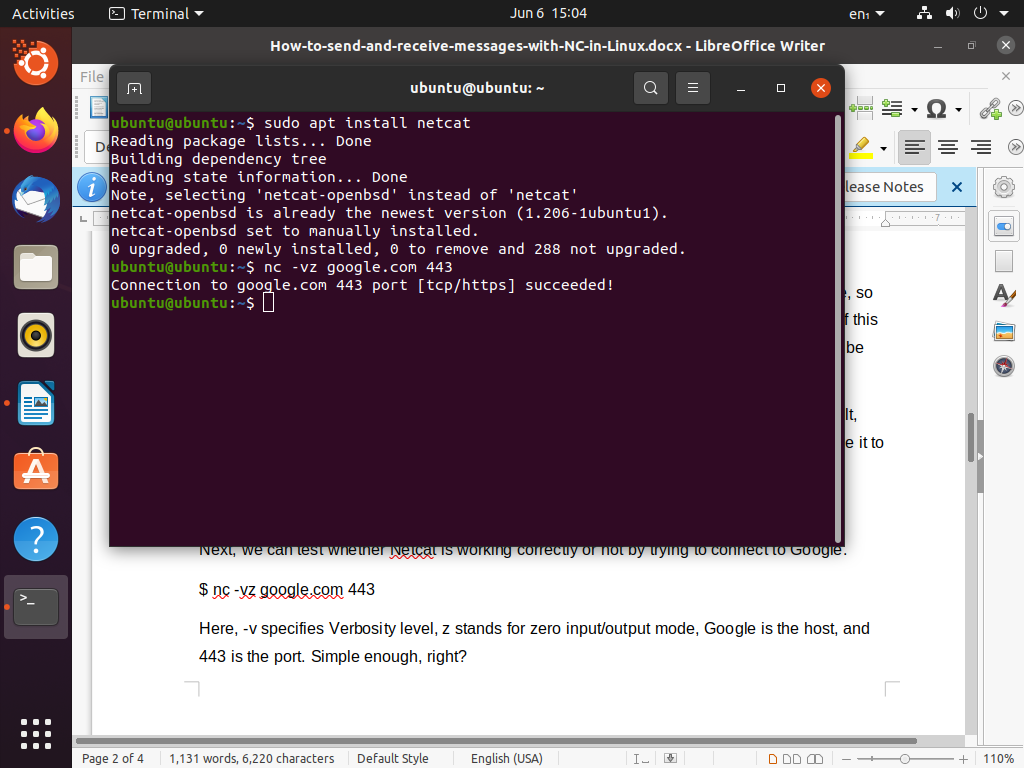
Here, -v specifies the Verbosity level, z stands for zero input/output mode, Google is the host, and 443 is the port. Simple enough, right?
Setting up a chatting server
Now that we went over the basics of Netcat and got a good understanding of how it works, it is time we start setting up a chatting server. It is simpler than you would think. For a two-way network, we will need a server and a client. Once the server is running, we are in business as soon as the client connects to it.
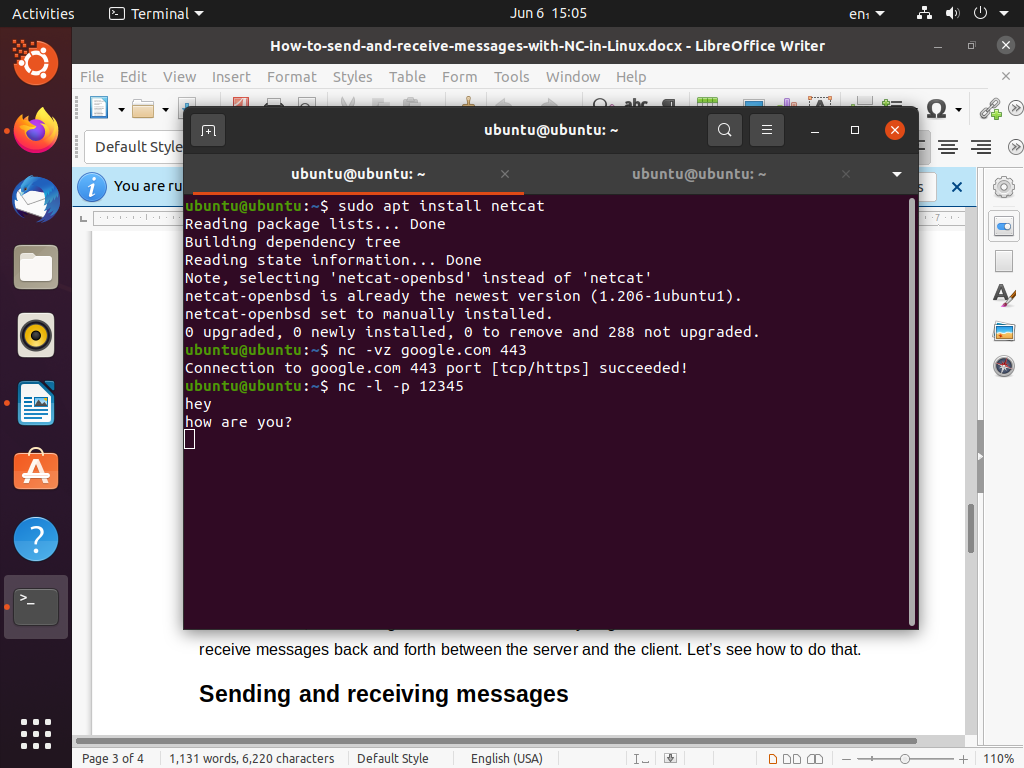
We can start a Netcat server in listening mode by running the following command. (-p specifies port)

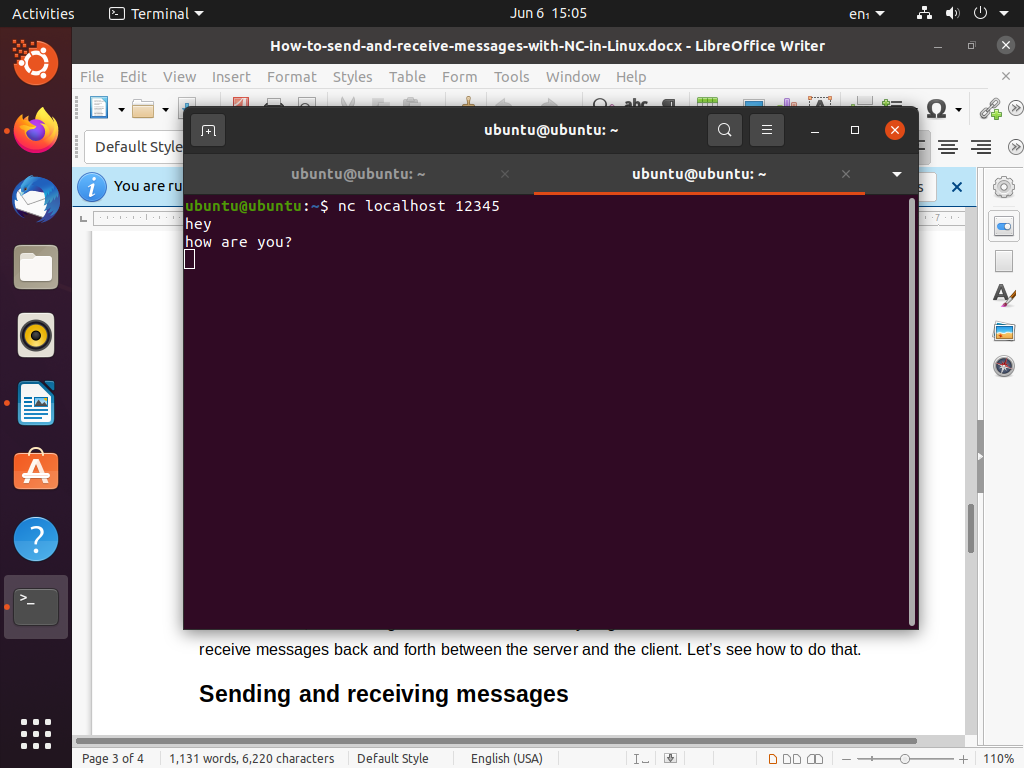
For demonstration purposes, we will be setting up the server and the client on the same computer, therefore making localhost the hostname. Now to connect to the server, we must enter in client mode. This can be done with a command with the general syntax of
Let us plug in the hostname and port of our previously defined server by running the following command.

With that done, the chatting server is all set and ready to go. All that is left is sending and receiving messages back and forth between the server and the client. Let’s see how to do that.
Sending and receiving messages
Like we mentioned earlier, the server and client, in our case, are on the same machine. That means we can send and receive messages through different Terminal windows and entering different modes – server and client. So, let’s boot up another Terminal window and start sending each other some text messages.
All you have to do is type in your message and hit enter; this is shown in the images below.
There is another way to do it as well, which may prove to be shorter than the method described previously. This method uses the echo feature to send messages. The general syntax of this communication solution is as follows.
$ echo [text] | netcat host port
Similar, but not quite the same. In the text option, you can enter digits, characters, strings; you name it. So, for example, if you wanted to send the digit 2 to the localhost server that we just set up on port 12345, you would type:
$ echo 2 | netcat localhost 12345
And that’s it. You can send and receive messages with Netcat through either of the methods described as both of them work just as fine; it is a matter of personal choice more than anything.
Conclusion
In this guide, we initially described what Netcat is, how to install it, and its fundamentals. Later on, we showed how you could set up a chatting server and start sending and receiving messages in no time. Hopefully, you will have learned how you can use Netcat to network with other Linux systems.