This tutorial explains how to create a multiboot USB in Linux in which you just need to copy any ISO you want to boot. After reading this tutorial you’ll know how to create within a minute a multiboot USB containing multiple operating systems such as different Linux distributions or Microsoft Windows.
Creating a Multiboot USB in Linux using Ventoy
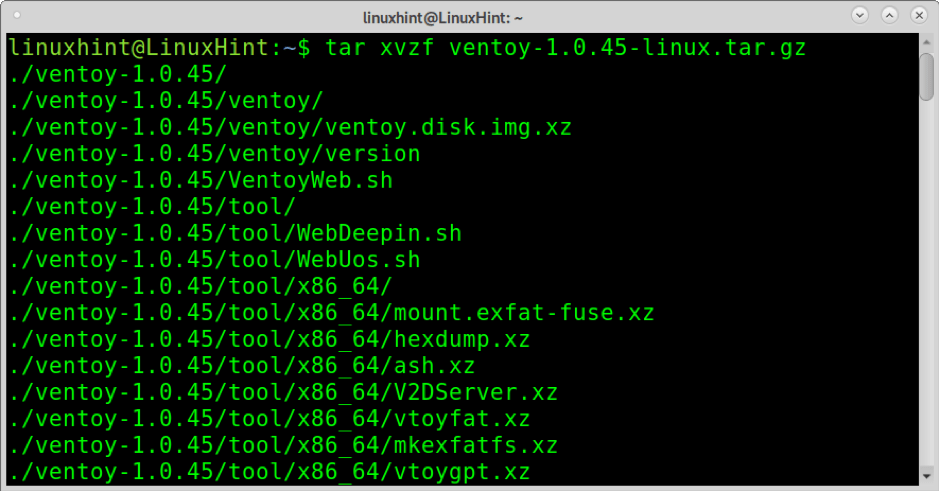
To start, first download the Linux tar.gz package from https://github.com/ventoy/Ventoy/releases and extract the files running the following command.
Note: replace ventoy-1.0.45-linux.tar.gz with the current version.
$ tar xvzf ventoy-1.0.45-linux.tar.gz
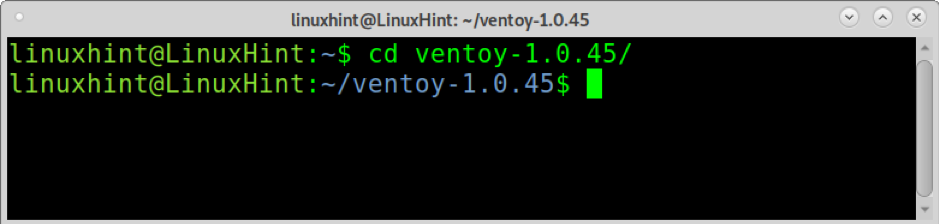
Once extracted, move into the directory using the cd (Change Directory) command as shown in the image below.
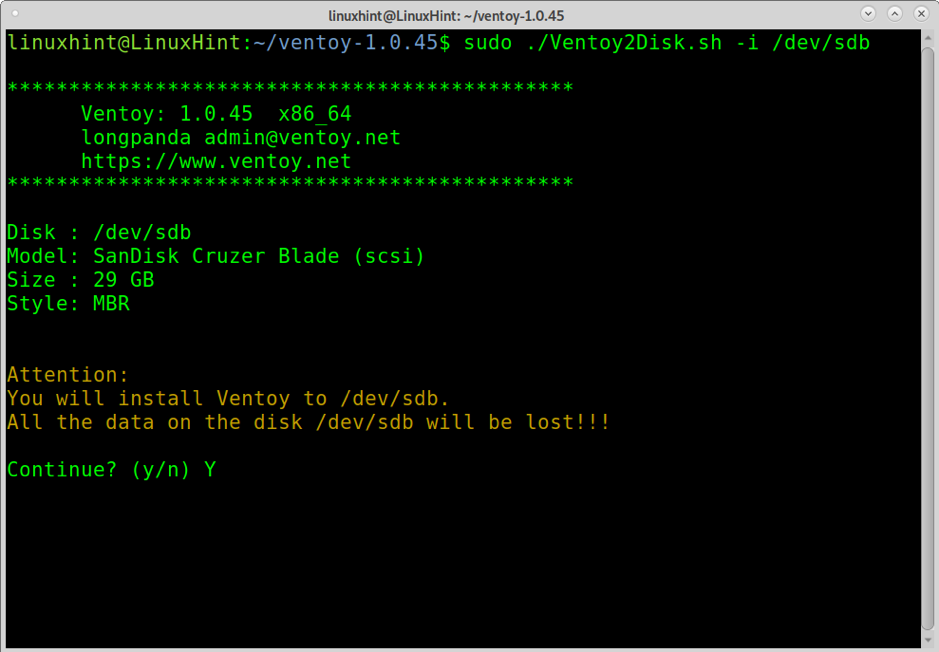
Now, execute Ventoy2Disk.sh with privileges, using the option -i and typing the path to your USB drive. In my case, the disk is mounted on /dev/sdb. Replace this mount point for yours and execute the following command. When asked for confirmation, press y.
$ sudo ./Ventoy2Disk.sh -i /dev/sdb
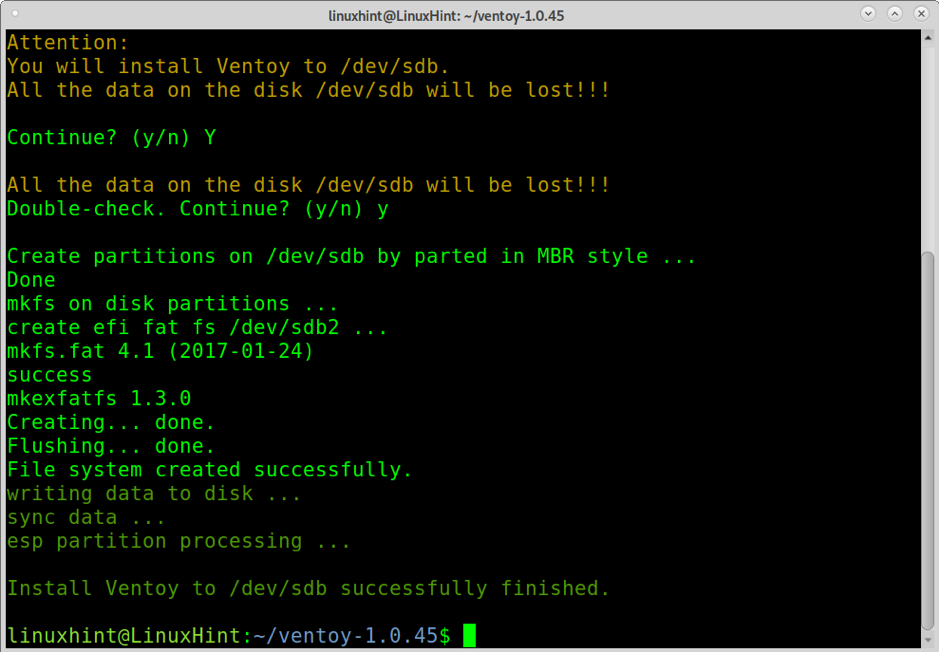
After creating the multiboot USB, you’ll see a success notification as shown below.
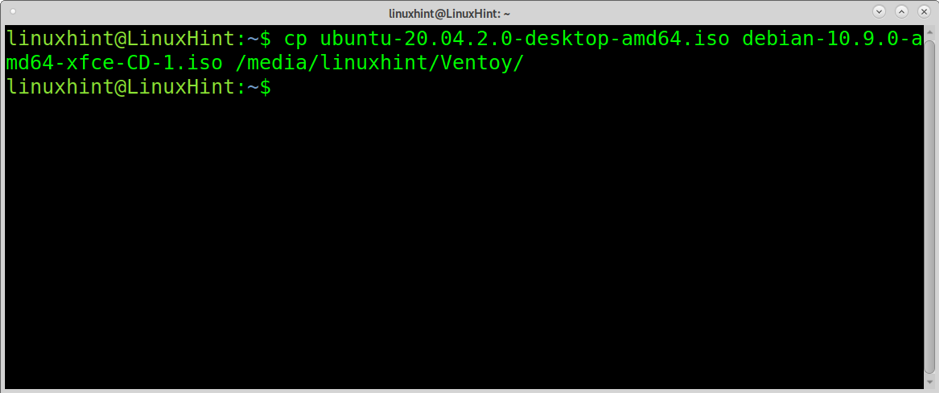
Now, you only need all ISO images you want to be able to boot into the mount point. In my case, /dev/sdb is mounted on /media/linuxhint/Ventoy. In the example below, I copy an Ubuntu and a Debian image into the USB.
$ cp ubuntu-20.04.2.0-desktop-amd64.iso debian-10.9.0-amd64-xfce-CD-1.iso /media/linuxhint/Ventoy/
Once copied, test the USB by booting it. A menu as the shown below must show up, allowing you to boot any of the ISO images you copied to the USB disk.
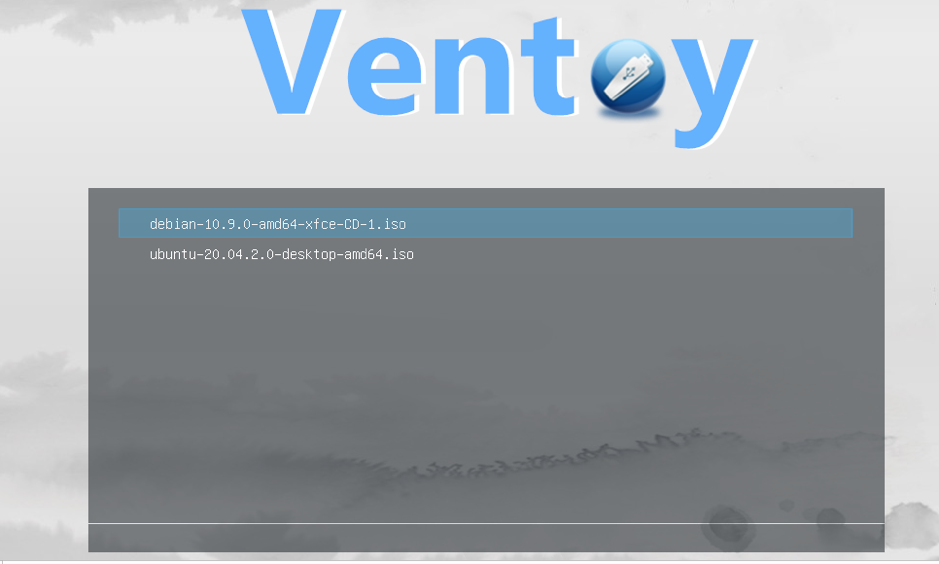
For example, if I select the Debian ISO, the installation menu will show up.

To remove Ventoy, you can use Gparted.
About Ventoy
Ventoy seems to be the best of the tools described in this tutorial showing extreme stability. Some Ventoy features are:
- Open-source
- Very easy to use
- Supports persistence
- Fast process limited only by the ISO copying speed
- Can be installed on USB, Local Disks, SSD, SD Card and NVMe devices
- Boot from ISO/IMG/WIM/VHD(x)/EFI files without extraction
- Unnecessary to be continuous in drive for ISO/IMG/WIM/VHD(x)/EFI files
- x86 Legacy, IA32 UEFI,x86_64 UEFI, ARM64 and MIPS64EL UEFI
- Supports x86_64/IA32 UEFI Secure Boot
- RHEL7/8/CentOS7/8/Ubuntu Server/SUSE, Microsoft Windows … auto installation supported
- Supports both MBR (Master Boot Record) and GPT (GUID Partition table)
- FAT32/NTFS/exFAT//UDF/XFS/Ext2(3)(4) supported for main partition
- Supports large ISO files
- Native boot menu style for both Legacy and UEFI
- Support most of ISO types
- Linux vDisk boot (vdi/vhd/raw)
- Both boot and complete installation process
- Menu dynamically switchable between TreeView and ListView mode
- Plugins Framework
- Injection files to runtime environment
- Start-up configuration file dynamically replacement
- Customizable look
- USB drive write protection
- Normal USB uses unaffected
- Preserves data during version upgrade
- No need to update Ventoy when a new Linux distribution is released
Below, you can find instructions to create a multiboot USB using Depot-Multisystem and a regular boot USB using Unetbootin.
Creating Multiboot USB in Linux (UEFI only)
Another way to create a multiboot USB in Linux is using Depot Multisystem. After tests, I found this method is unstable and only works with UEFI.
To begin save the code at this link in a file called multisystem.sh (download it from http://liveusb.info/multisystem/install-depot-multisystem.sh.tar.bz2)
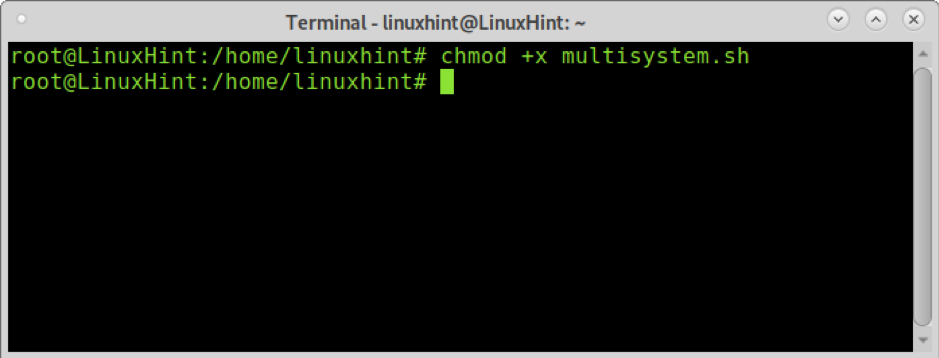
Give multisystem.sh execution rights by running:
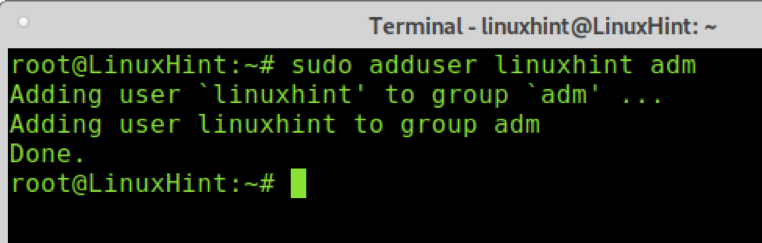
Add your user as admin by running the command below:
$ sudo adduser
Then run the script with privileges.
Once installed, you will find Multisystem in your menu under Accessories.
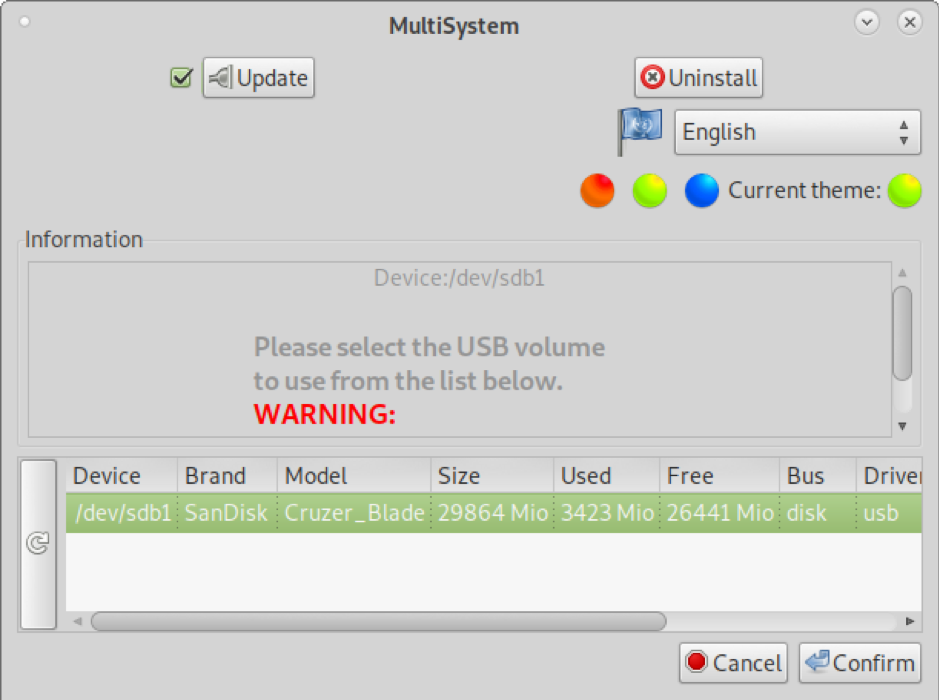
Open Multisystem, select your USB drive and press Confirm.
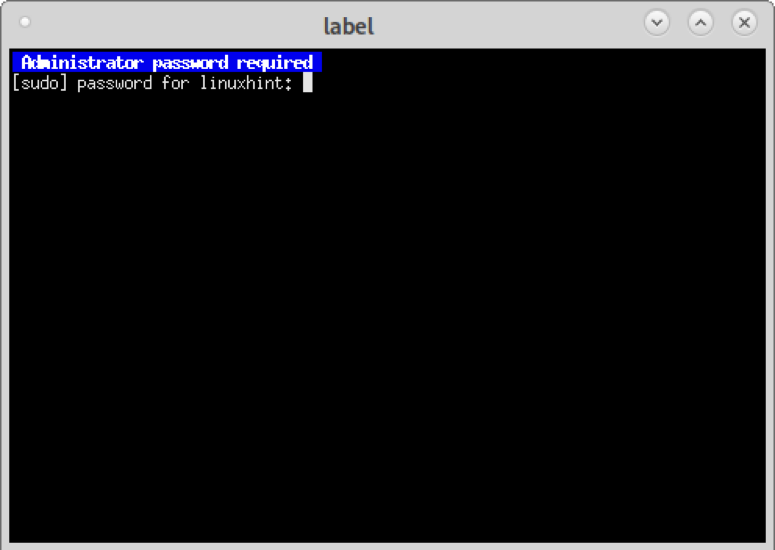
Type your password when requested.
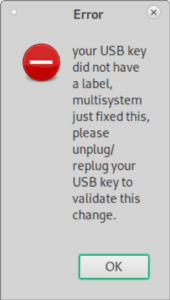
If an error prompts, follow the error instructions, unplug and plug the USB disk back, then open Multisystem again.
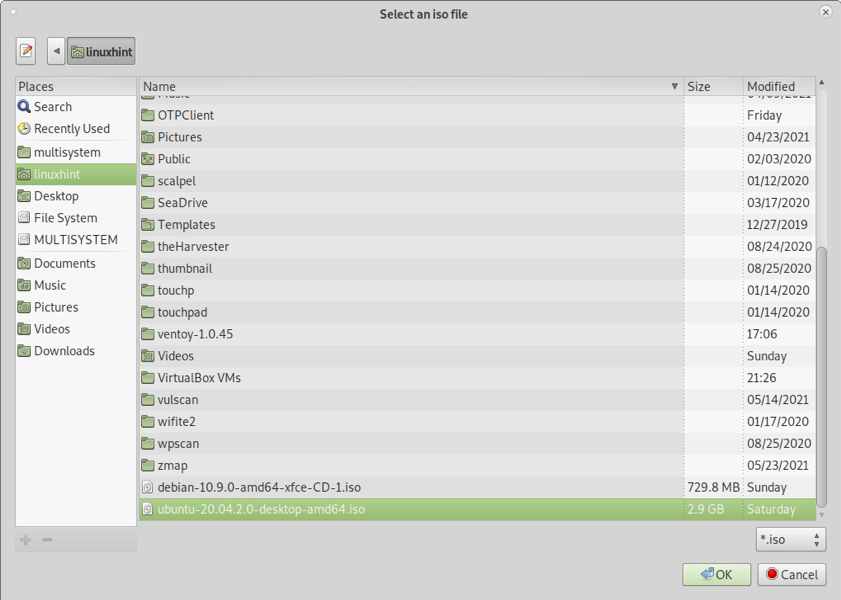
Once open, you can drag and drop ISO images within the upper big window. You can also press on the Disc image below “Select an .iso or .img” ()and browse your system to select the iso.

In my case, I will add an Ubuntu and a Debian image, one per time. Select your ISO and press OK.
You will see a terminal showing the progress like in the image below.
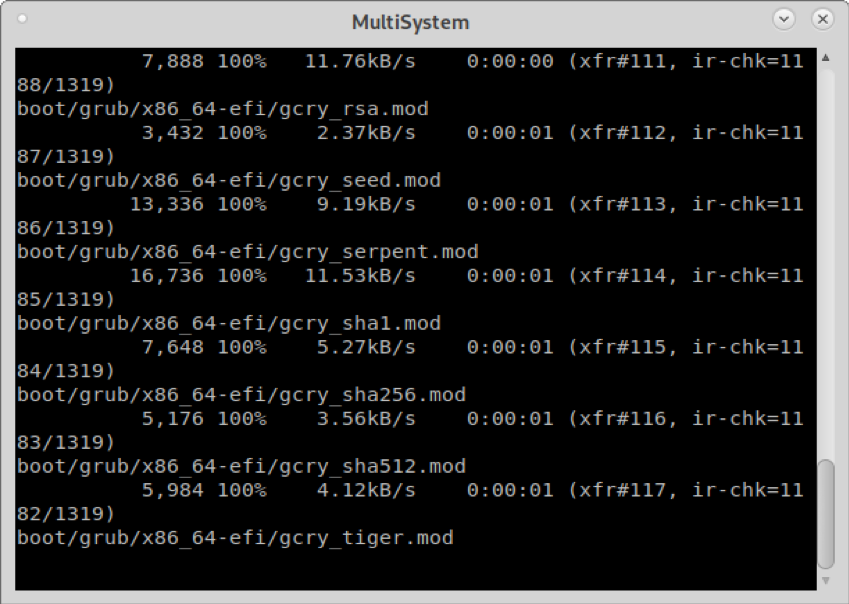
After the copying process ends, you will see all ISO images you added listed in the upper box.
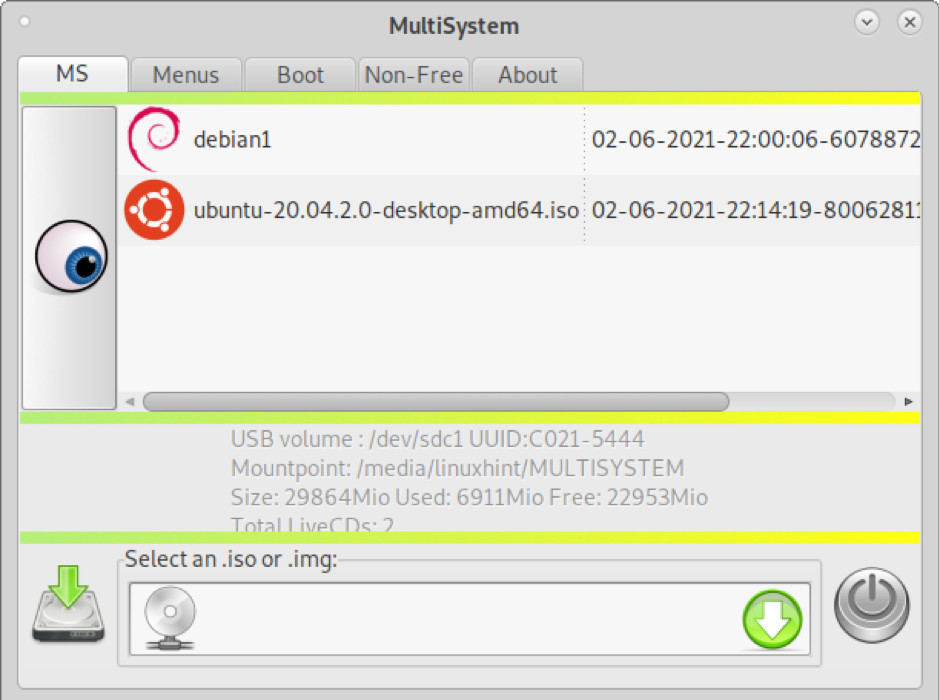
You can quit and your multiboot disk is ready to work (UEFI).
Creating a Bootable (no multi) USB in Linux Using Unetbootin
Despite the methods explained above are useful also to boot a single image, I decided to include instructions to create a bootable USB stick for one image only using the famous Unetbootin.
To start, download UnetbootIN from https://unetbootin.github.io/linux_download.html and give it execution permissions by running:
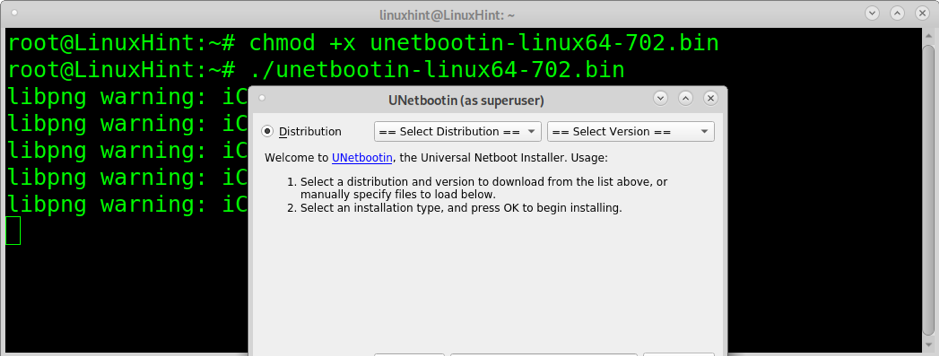
$ sudo chmod +x unetbootin-linux64-702.bin
Then, run Unetbootin with root privileges:
$ ./unetbootin-linux64-702.bin
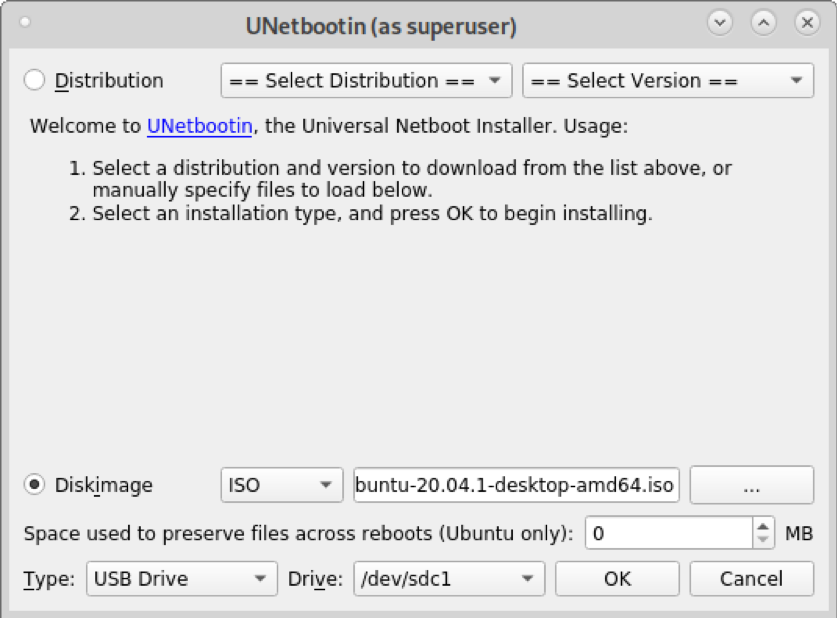
Select one of the ISO images you want to be bootable from the USB disk and confirm the USB drive is properly selected, then press OK to continue.
Copying the ISO within the USB stick will take some minutes, probably you won’t even see progress but be patient.
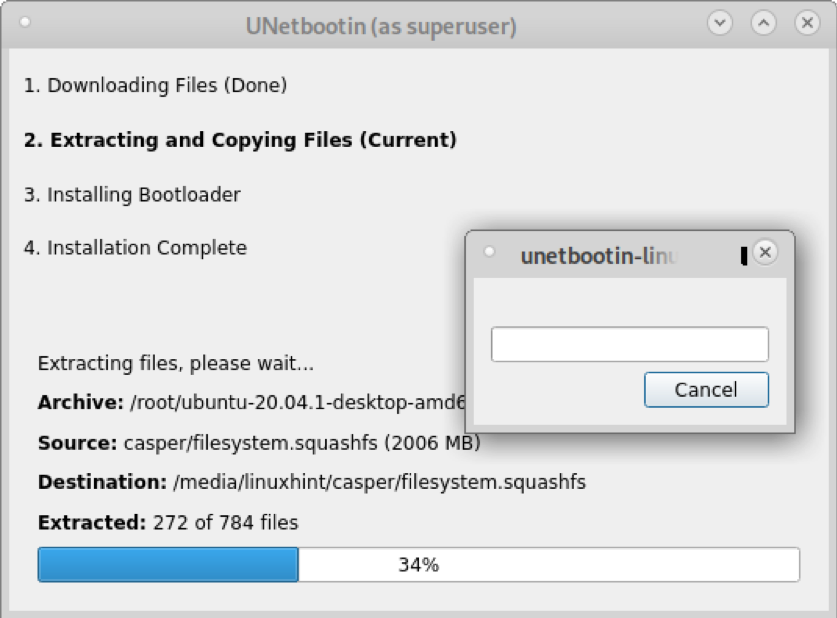
After the process ends, the USB is ready to boot the iso you selected.
Conclusion
Ventoy is the most stable and fastest solution to apply mentioned in this tutorial. Depot-Multisystem only booted when choosing UEFI boot. This tutorial shows that any Linux user level can create a multi boot USB stick in minutes without advanced knowledge in a few steps dragging and dropping the images to boot.
Despite the fact that Unetbootin isn’t a solution to create multiboot drives, a brief explanation on it was added because it is one of the most multiplatform used tools to create bootable drives.
I hope you found this tutorial useful.