Sometimes a well-designed system may not perform well due to some hardware issues. Among many issues, overheating is one of the primary issues that can cause a system to run slowly. Therefore, monitoring the temperature of the hardware can assist you to avoid damage to your system. So, here’s a tool to help you to keep a track of the temperature issues of a system called “psensor”.
“Psensor” is a very useful graphical application that is used to monitor the temperature of the CPU, GPU, and other hardware elements of your Linux system. It reads the hardware temperatures (Celsius and Fahrenheit) as well as fan speeds in RPM. It is also possible to set alarm notifications when certain thresholds are met. Moreover, it allows you to list sensor values and monitor CPU and memory usage.
Features:
Psensor monitors the graphical hardware temperature that runs on Linux. It is characterized by the following different features:
- Displays the temperatures of the motherboard, CPU, GPU, and hard disc drives
- Shows the fan speed of the CPU
- Displays the CPU usage
- Identifies any supporting hardware and display the temperature as text and a graph
- All of the temperatures are shown on a single line
- Displays the fan speed and temperature of a remote server
- Very useful and easy to install
In this post, we will check how to monitor the hardware temperature of your Linux system.
Dependencies
Psensor deals with these two packages to get the report of temperature and fan speed.
It is a server that collects data from sensors. You will need this package to gather data on the temperature and fan speed of a remote server.
How to Install the Psensors?
Getting Psensor Packages
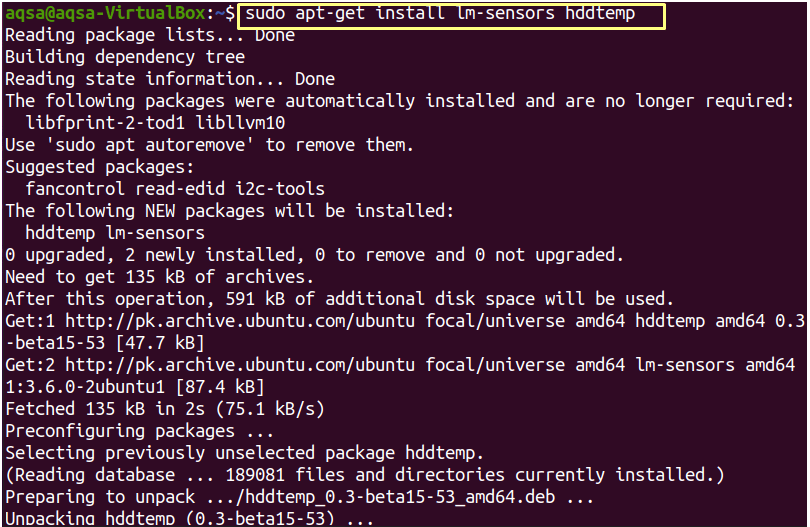
As discussed above, the Psensor is dependent on the “lm-sensor and hddtemp” packages, both of which must be installed on the system before installing the Psensor.
To get these packages along with Psensor, use:
$ sudo apt-get install lm-sensors hddtemp
Installing Psensor
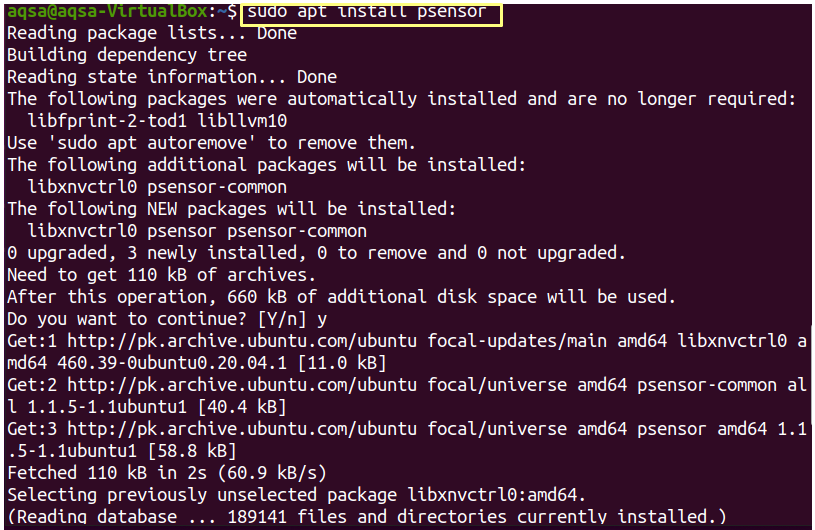
To install the “Psensor” server on your Linux system, use:
$ sudo apt install psensor
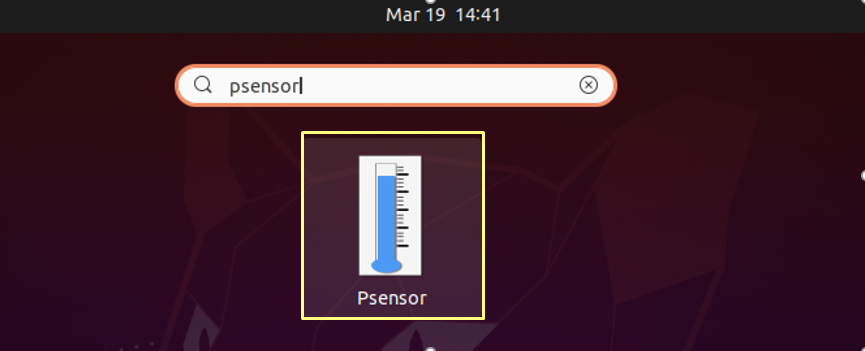
Once the installation is completed, search “psensor” from the applications menu to get the graphical view.
By clicking on “psensor”, a window will come out to display different graphs, sensor readings, and threshold values.

Psensor preferences “Interface” is located in the Psensor menu. You can customize the interface, the temperature unit, and the position of the sensor table from there. By default, it shows the temperature in Fahrenheit, but you can change it to Celsius.

In the “Startup” tab of Psensor preferences, you can configure the startup setting.

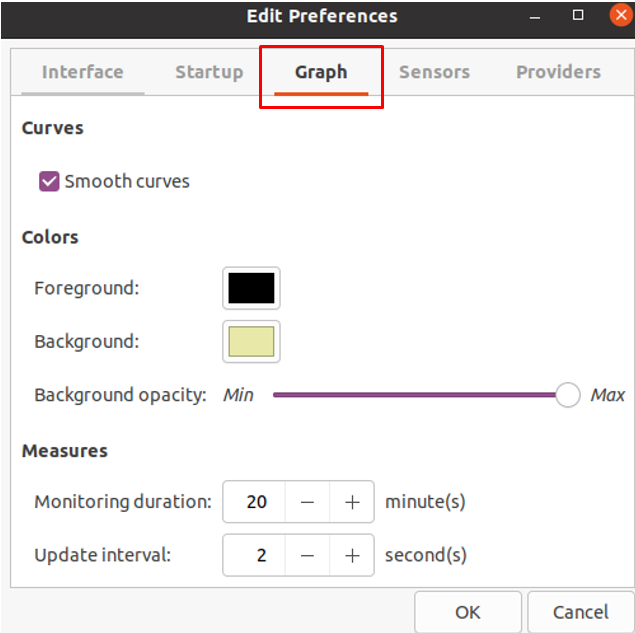
You can customize the foreground/background color, monitor duration, update interval, and more from the “Graph” option.
Sensors’ settings can be modified from the “Sensors” tab.

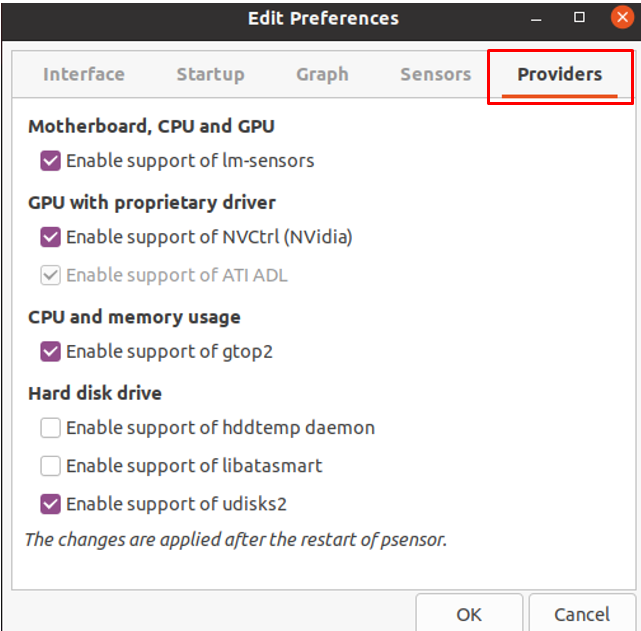
In the Psensor preferences, “Providers” allows you to enable/disable sensor settings.
Configuring Psensor
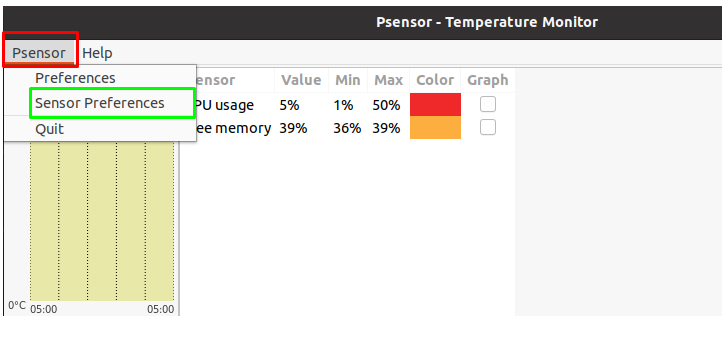
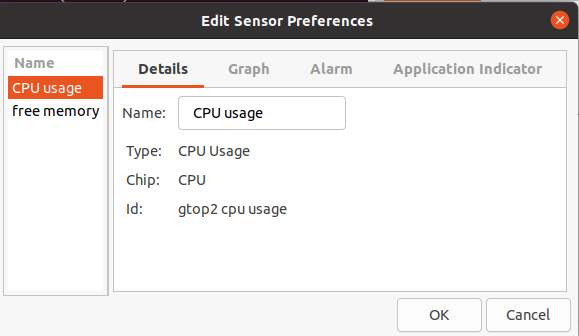
Within the graphical window, select the “Psensor” dropdown menu from the “Sensor Preferences”. You can customize the behavior and visibility of the sensor, as well as allow graphs and adjust alarm notifications when the threshold met.
Detecting the Sensor
To detect sensors, use:
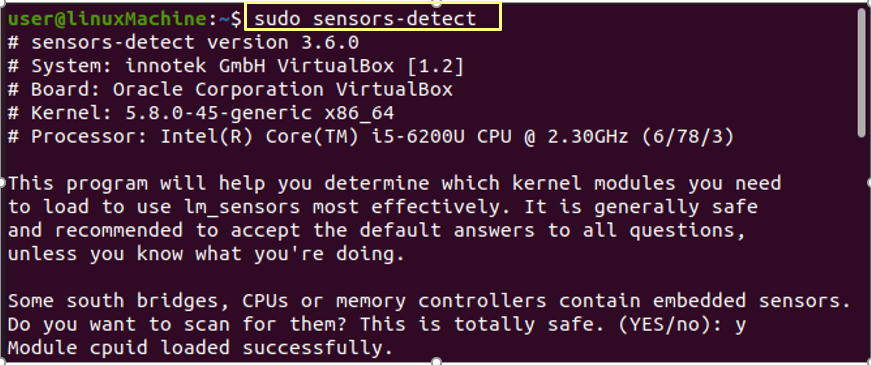
Run “sensors” to see the temperature of different hardware devices. Psensor will give you all information.

Conclusion:
“Psensor” is a useful tool for monitoring the hardware temperatures to protect our system from crashing and to warn us when our system’s hardware temperature rises. We have covered how to install and configure “Psenors” using sensor packages on a Linux system in this article.