In UNIX and Linux-type operating systems, the log is a file that records each action of the operating system. Whenever a user login to the system, it saves the record in the log file. It also allows the user to add any content to the file.
For this, the term “logger” is the command-line tool that provides a shell command interface and gives the user an easy approach to add logs in the /var/log/syslog files. You can add entries into the log files using the “logger” command.
The syntax of this command-line utility is:
How to Use logger Command with Options:
The “logger” command is a pre-built tool in Linux systems. Using this command, users can perform various functions with different options:
Print “syslog” file:
The syslog file plays an important role in Linux distributions as it stores all the log data in the /var/log directory.
To view the syslog file in the terminal, execute the following tail command:

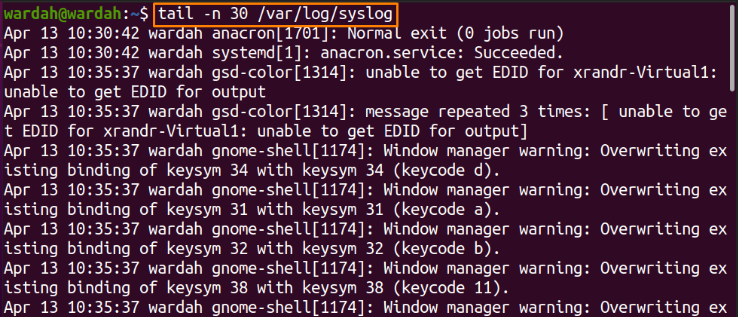
Specify the syslog Lines:
The “tail” is used to capture the record from syslog files and print it in the terminal. By default, when a tail command is executed, it prints the last 10 log lines of a file. But we can also specify the number of log lines to print:
$ tail -n 30 /var/log/syslog
Add log into syslog file:
Add any comment in the syslog file through the “logger” command without passing any option.
$ logger “For_Testing”

Run the “tail” command to print it on the terminal:

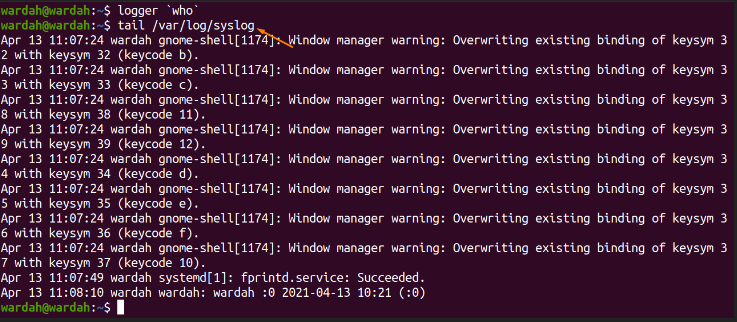
Log “who” Command:
The “logger” command can also be used to add the standard output of any command. Type the “who” with logger command to add it in the syslog file:
Display it with the tail command:
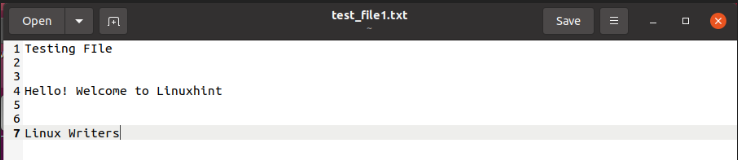
Log Specified File:
The “logger” command allows the user to add the content of a specified file into the syslog file using the “-f” option.
Let’s create a file named “test_file1.txt” and add some text to it:

Now, to print the file log in the terminal, execute the given command:
$ logger –f test_file1.txt

NOTE: In the tail command, tail -2 means that it will print the last two output lines. But if you want to print the detailed output with all the logs, you don’t need to specify the number of lines.
Specify Log Size:
Some loglines can be long strings and limit them to use “–size” option. Run the mentioned “–size” option in the following way:
$ logger –size 12 12345678901122334455……

(In the above command, we added random characters in the log and displayed the only first 12 characters using the size option. Tail -1 will print only the last line of the display result).
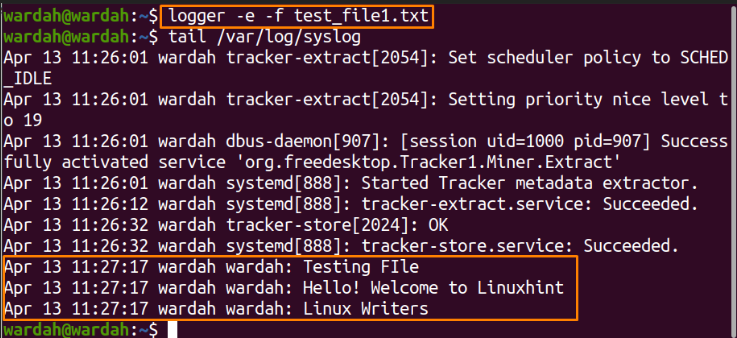
Ignore Empty Lines:
Use the “-e” option if the file contains empty lines in it. It will remove the blank lines from the file and print the output in the standard way.
For example, add some blank lines in the text file we created:
Run the “-e” option with the file name “test_file1.txt” to remove empty lines:
$ logger -e -f test_file1.txt
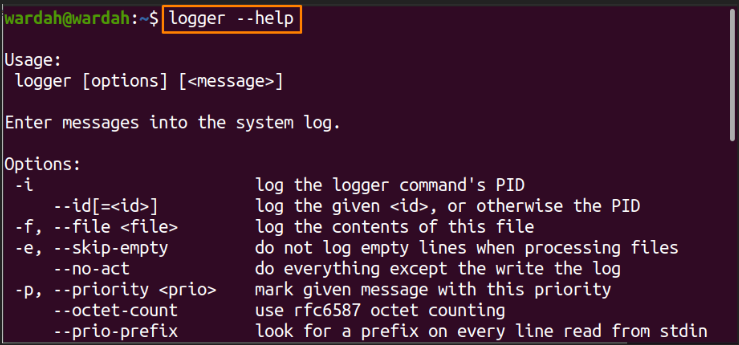
Display Help:
Type the “–help” option to display the help message about the “logger” command and its options:
Conclusion:
The “syslog” file in every system keeps a record of each action performed by the operating system. There is a “logger” command in the Linux systems that provides an interface to the user to add logs in the “/var/log/syslog” file using the terminal.
In this writing, we have discussed the Linux “logger” command and learned the functionality of its different options through multiple examples.